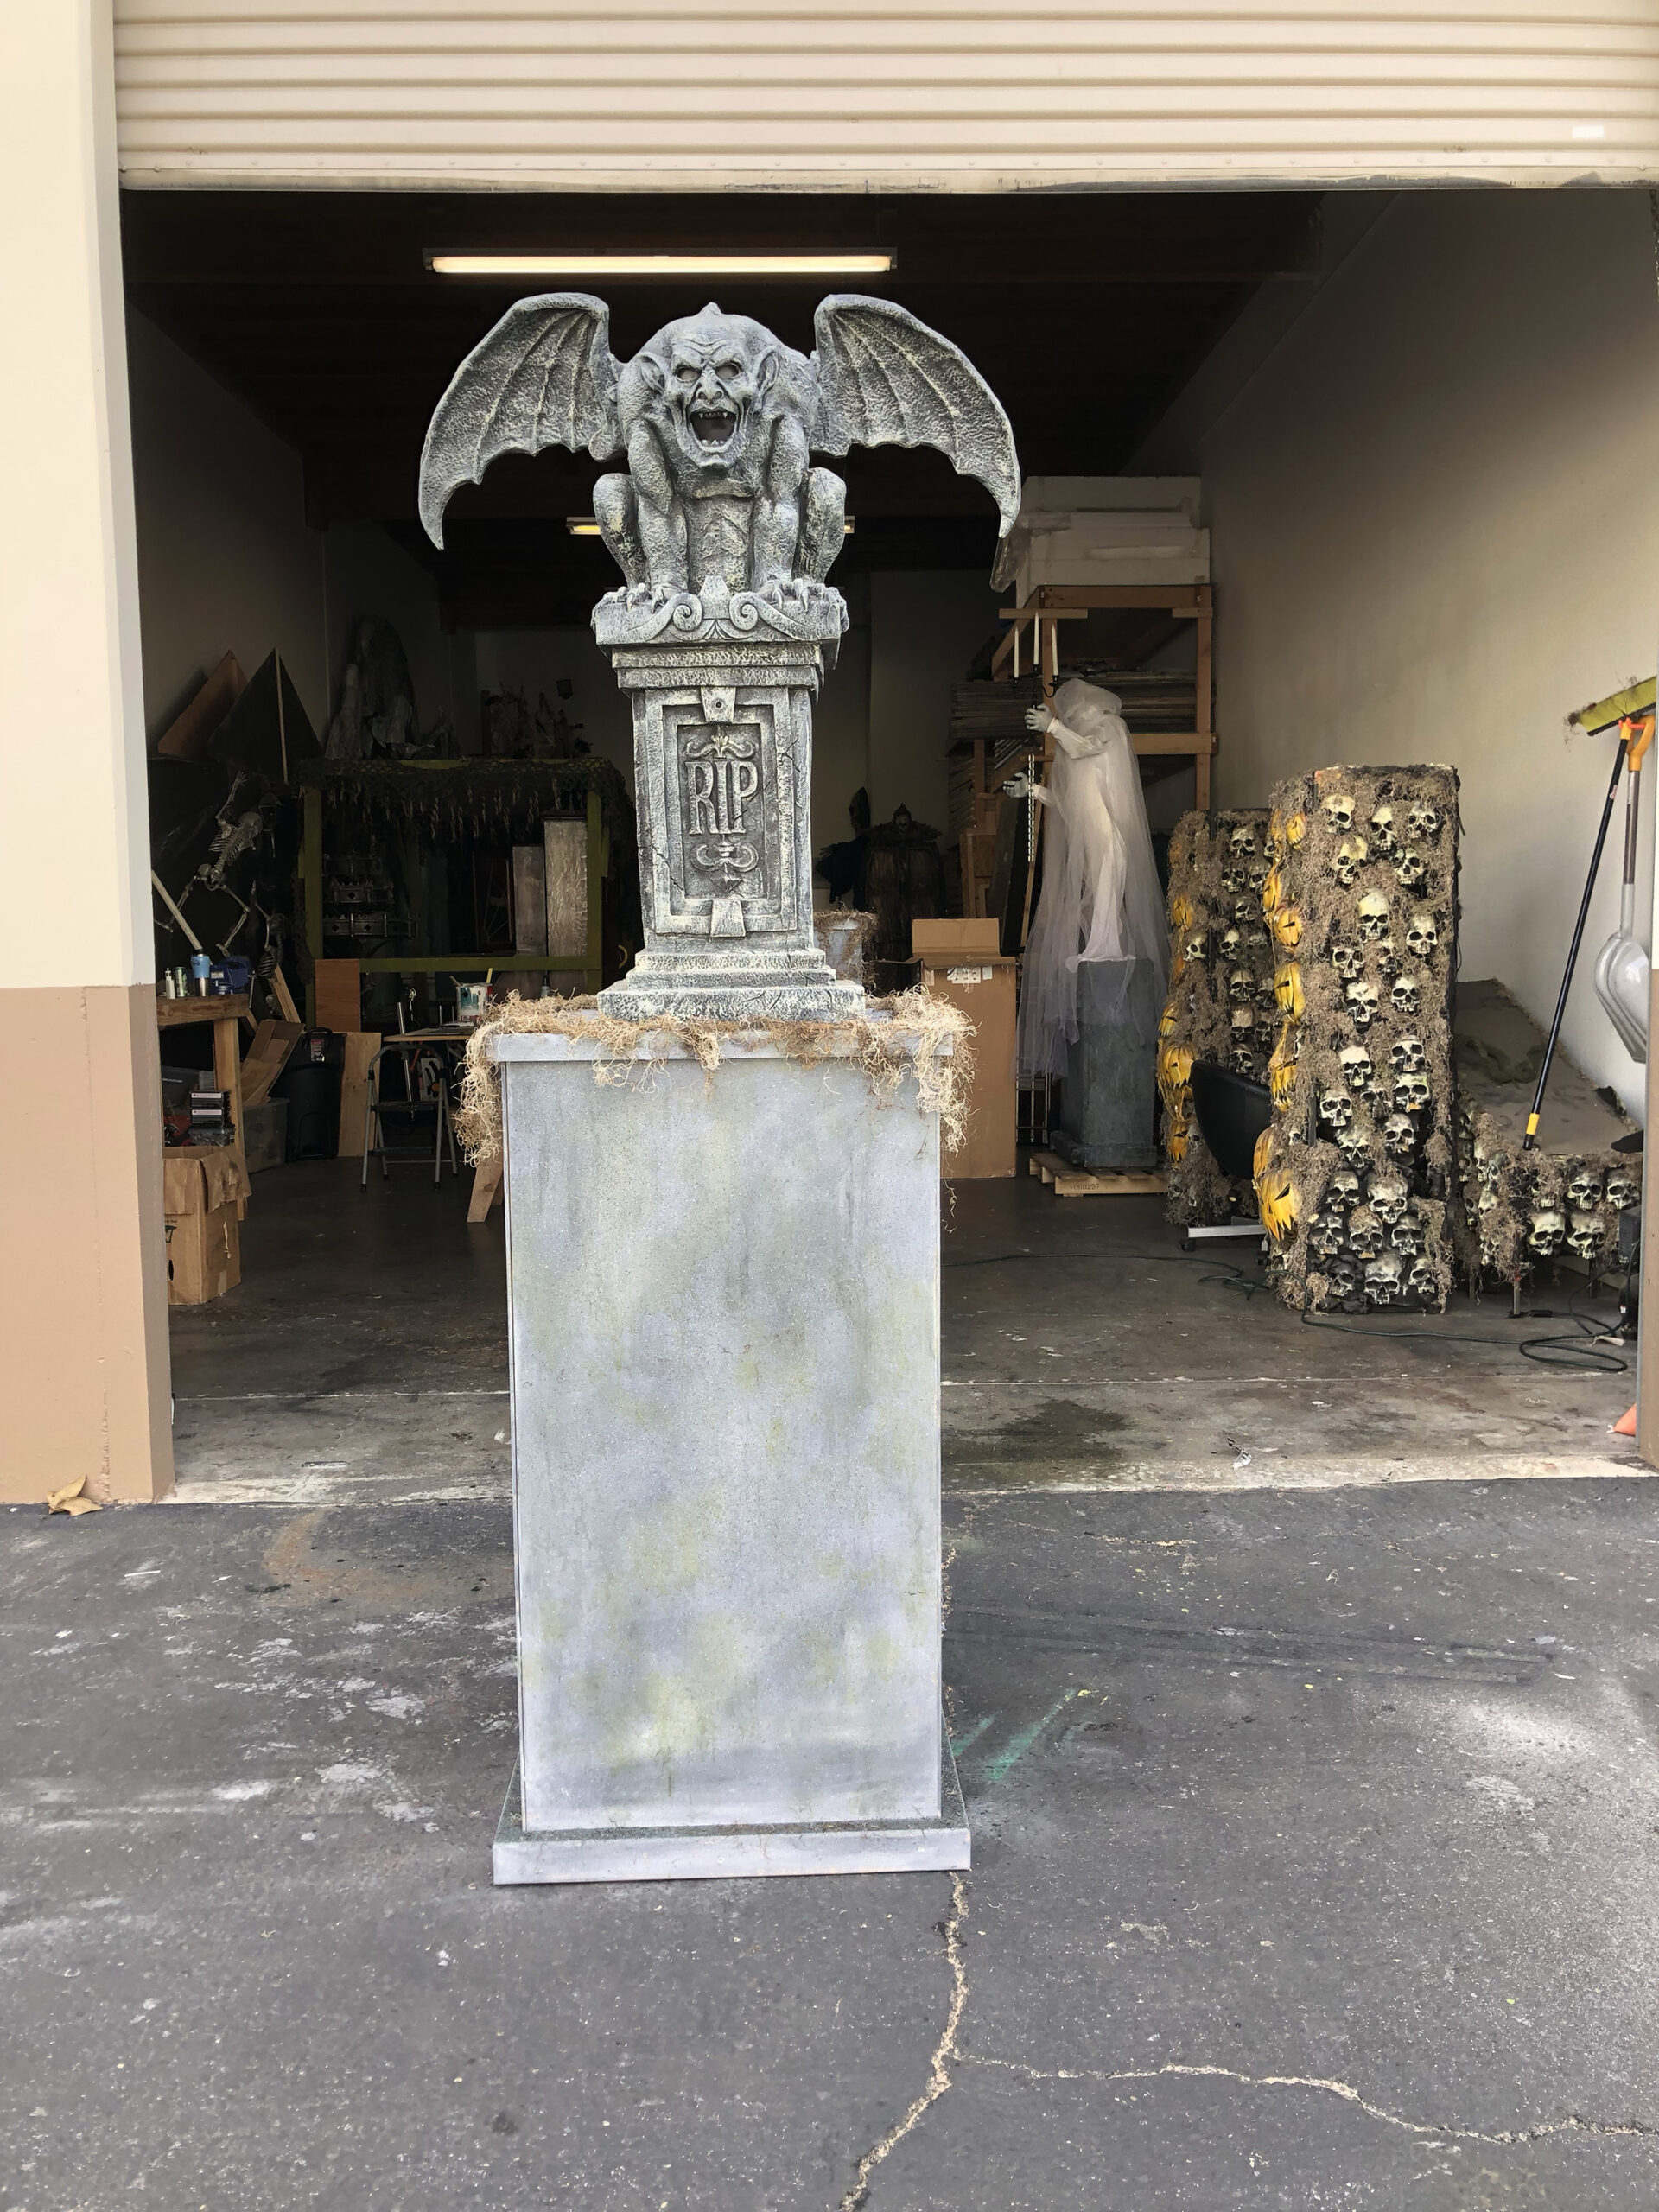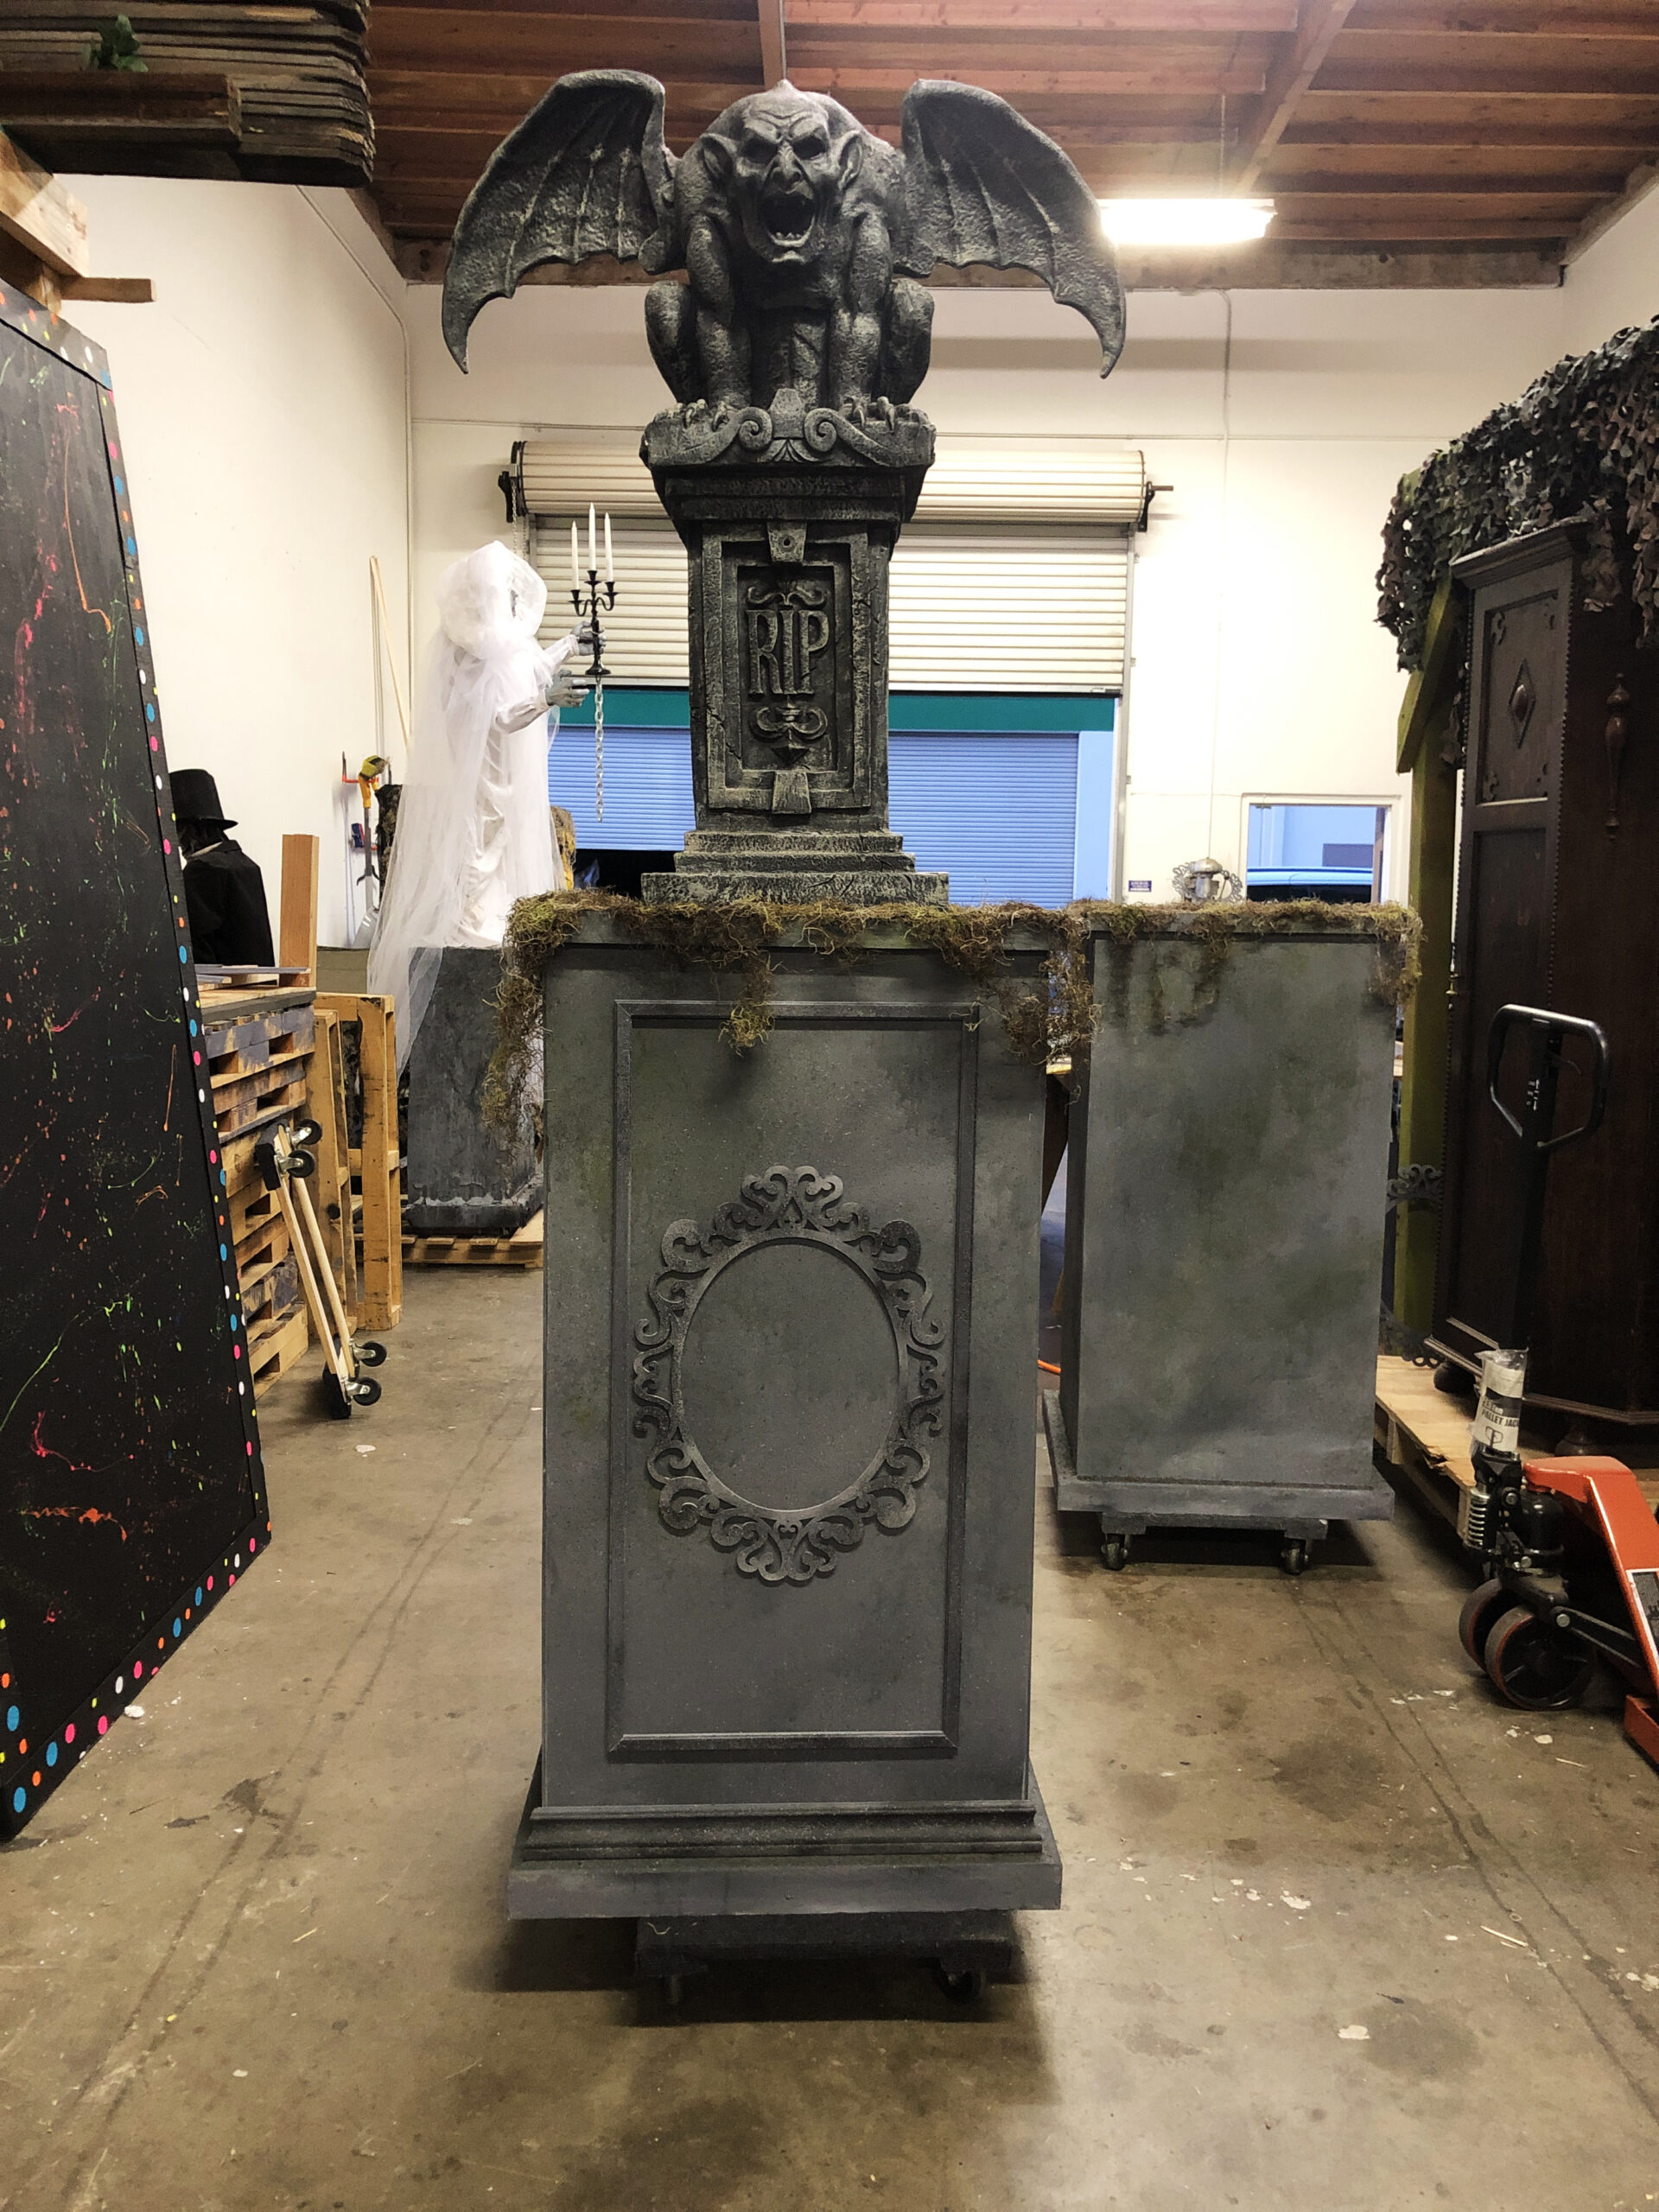
22 Jan stone gargoyle pillars
Halloween seems far away but for film and tv productions it can be Halloween all year depending on what folks are filming. Off season, I frequently get calls from production teams looking to rent Halloween props for their upcoming shoots. Only this month, I was asked if I could make 48″ tall stone style pillars to hold the gargoyles they were renting. I managed to throw these together in a couple of days and was keen to show you how easily you can build them yourself.
If nothing is going on top of them, I would still suggest the cheaper option of taping moving boxes together and using the ‘monster mud’ technique, but my large resin gargoyles needed something more sturdy.
Here is a list of supplies you will need:
- 4 sheets of 2.7mm 4×8 utility plywood
- 6 to 8 8ft 2×2
- 2 8ft 2×3
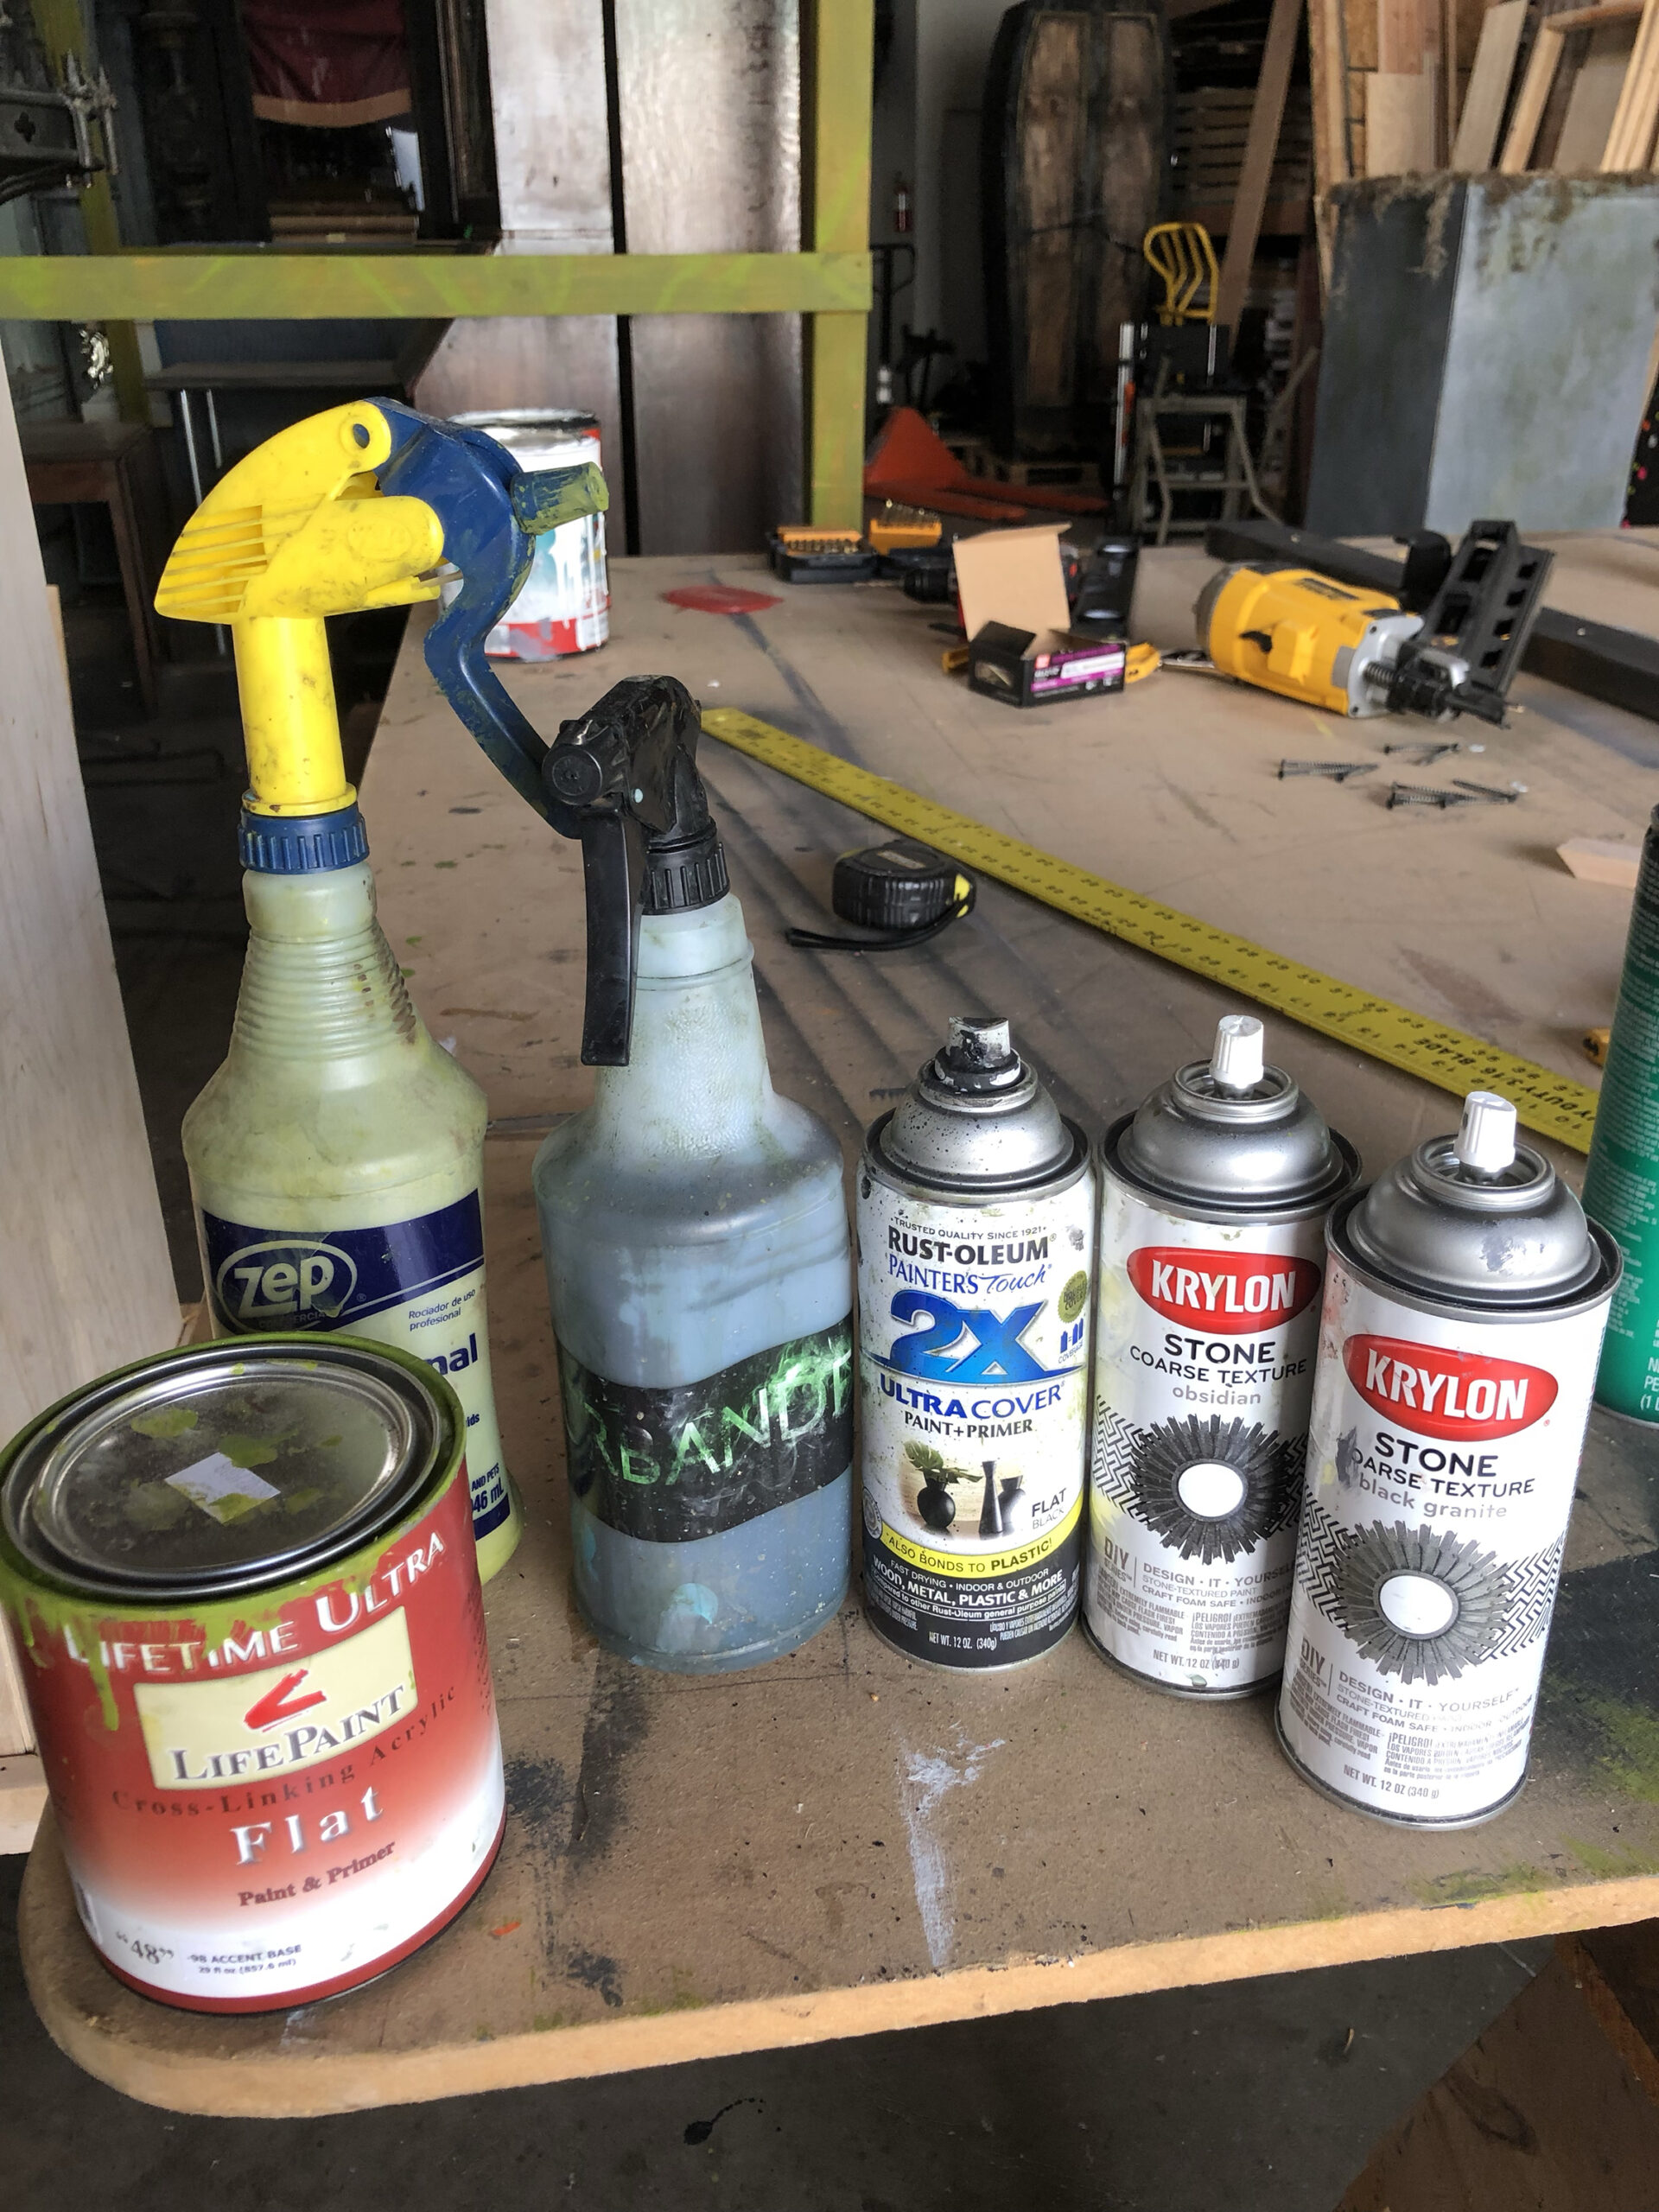
- 1 can krylon black granite coarse texture spray paint
- 1 can krylon obsidian coarse texture spray paint
- 1 can flat black spray paint
- 1 bottle urbandecay (brutalrust.com)
- 1 small can moss green paint (watered down in spray bottle)
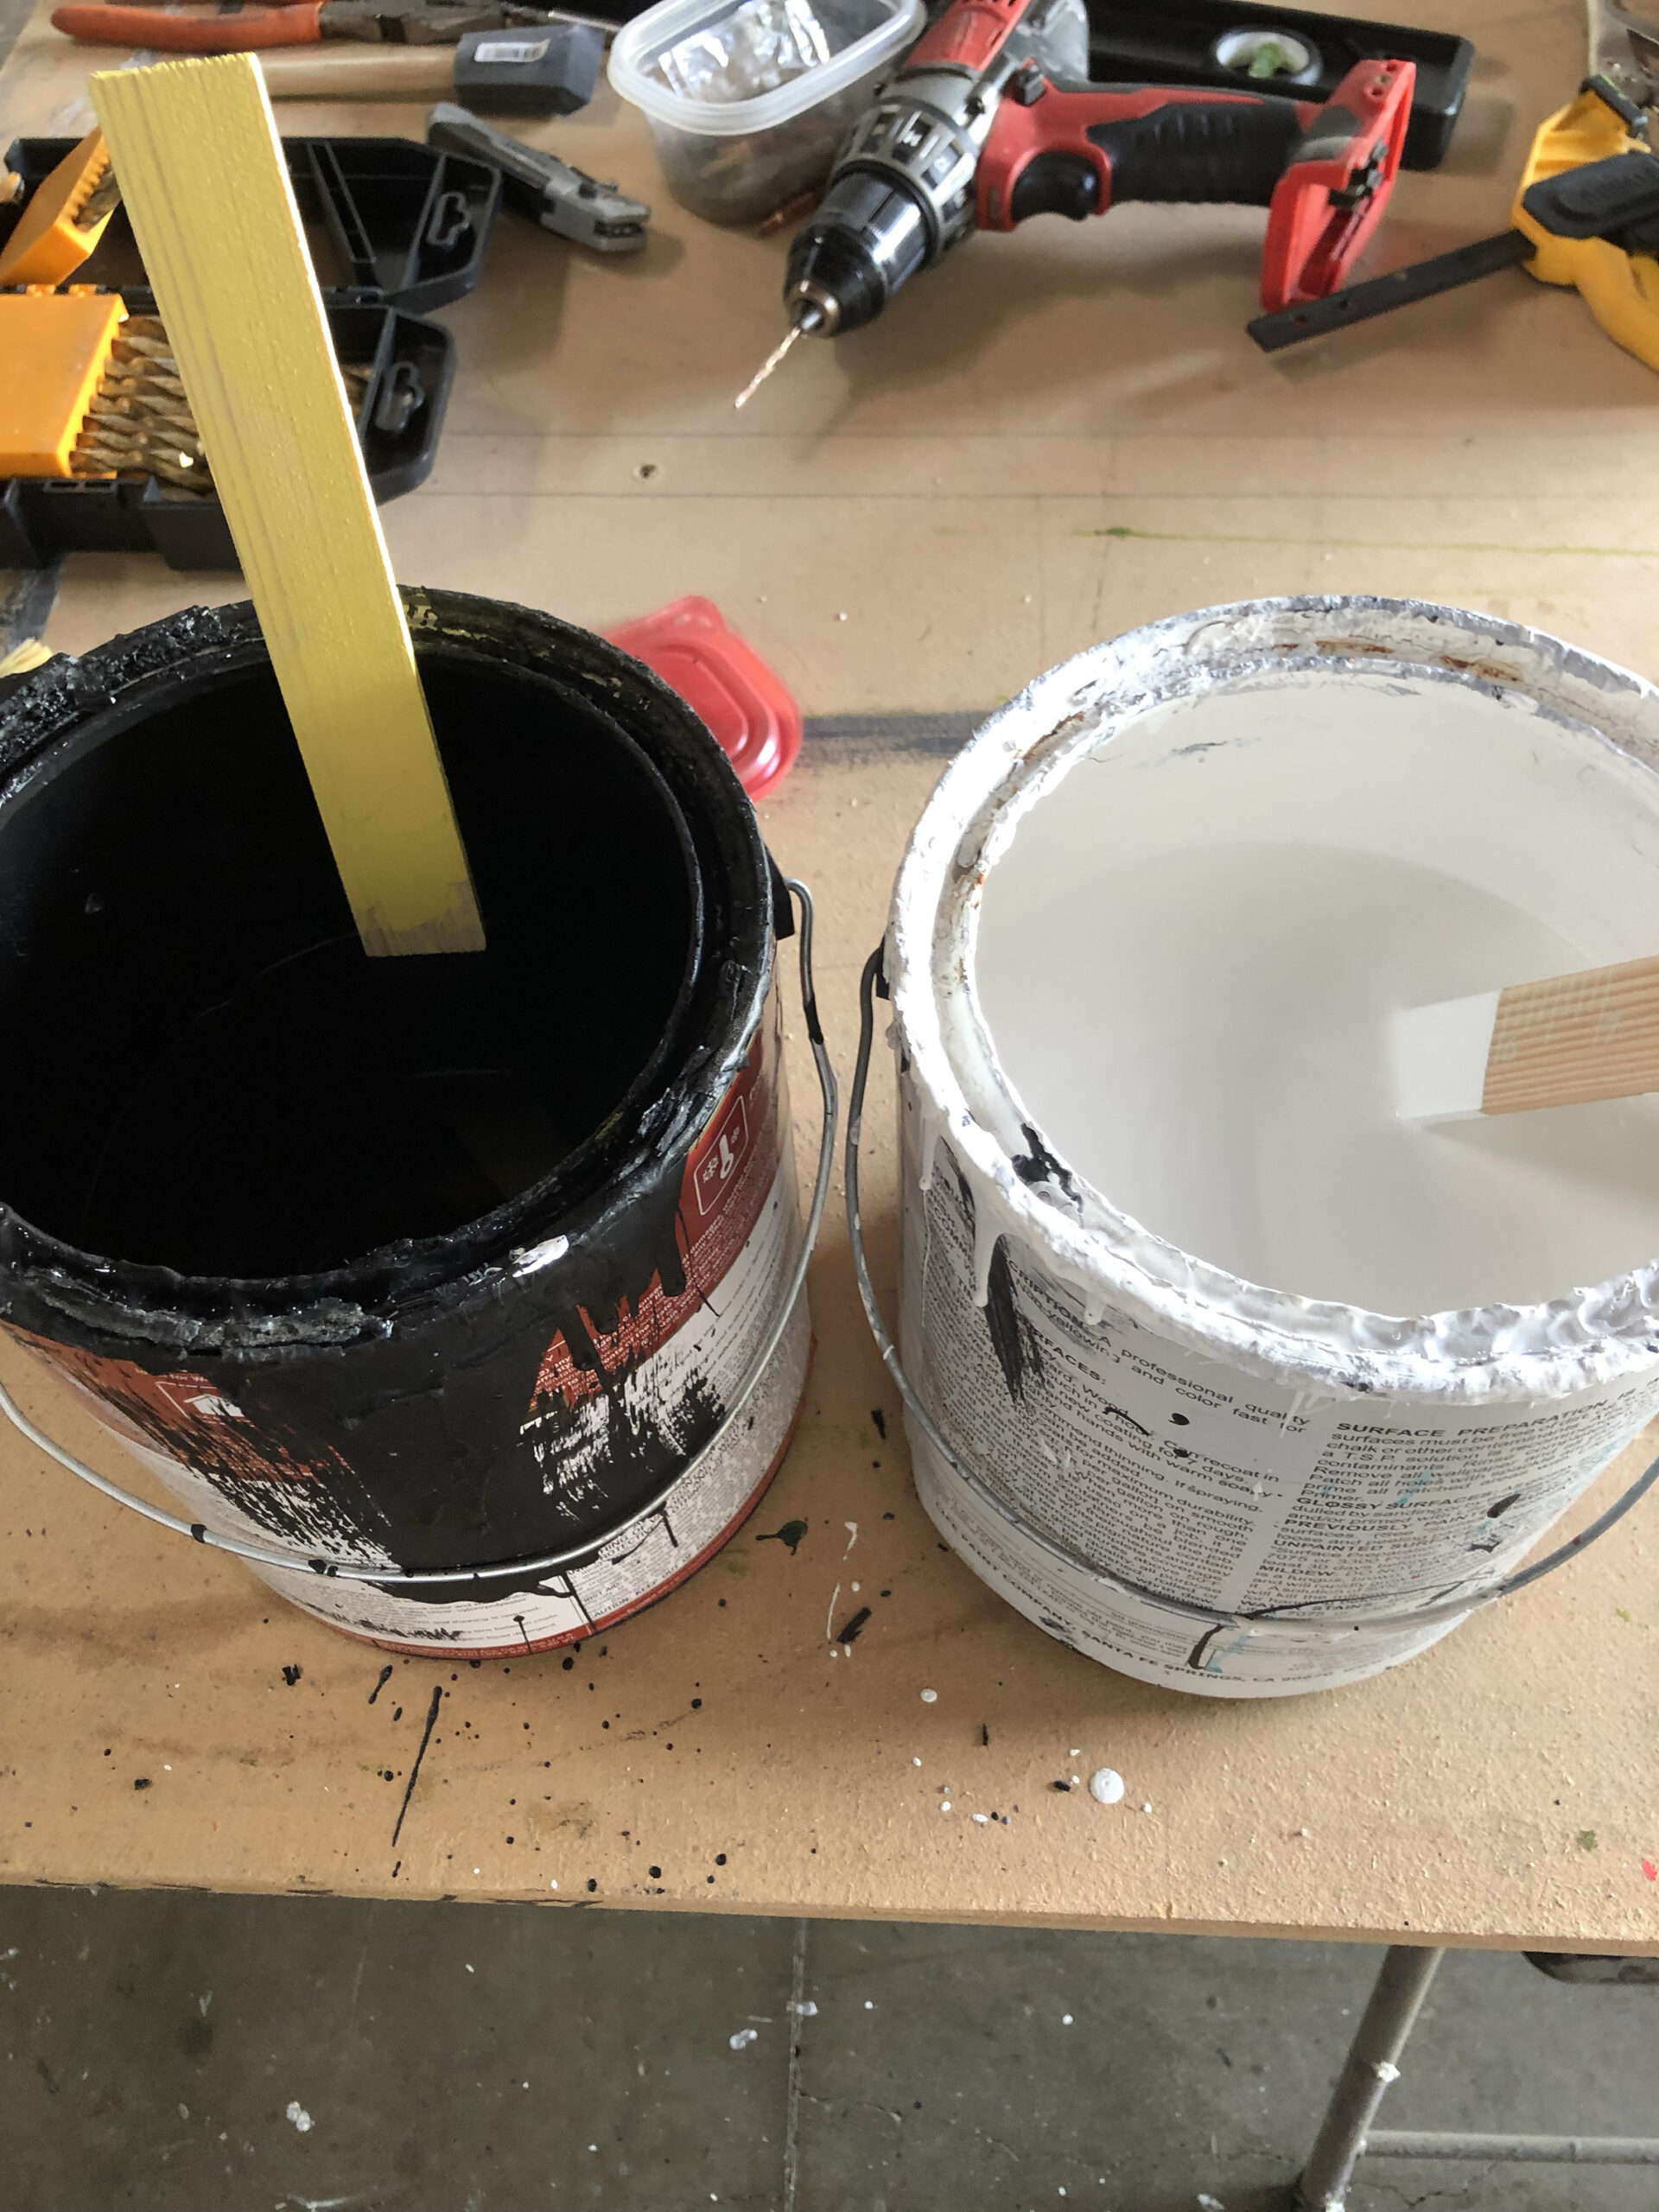
- gallon of black paint flat
- gallon of white paint
- Moss
- Nail gun and screws
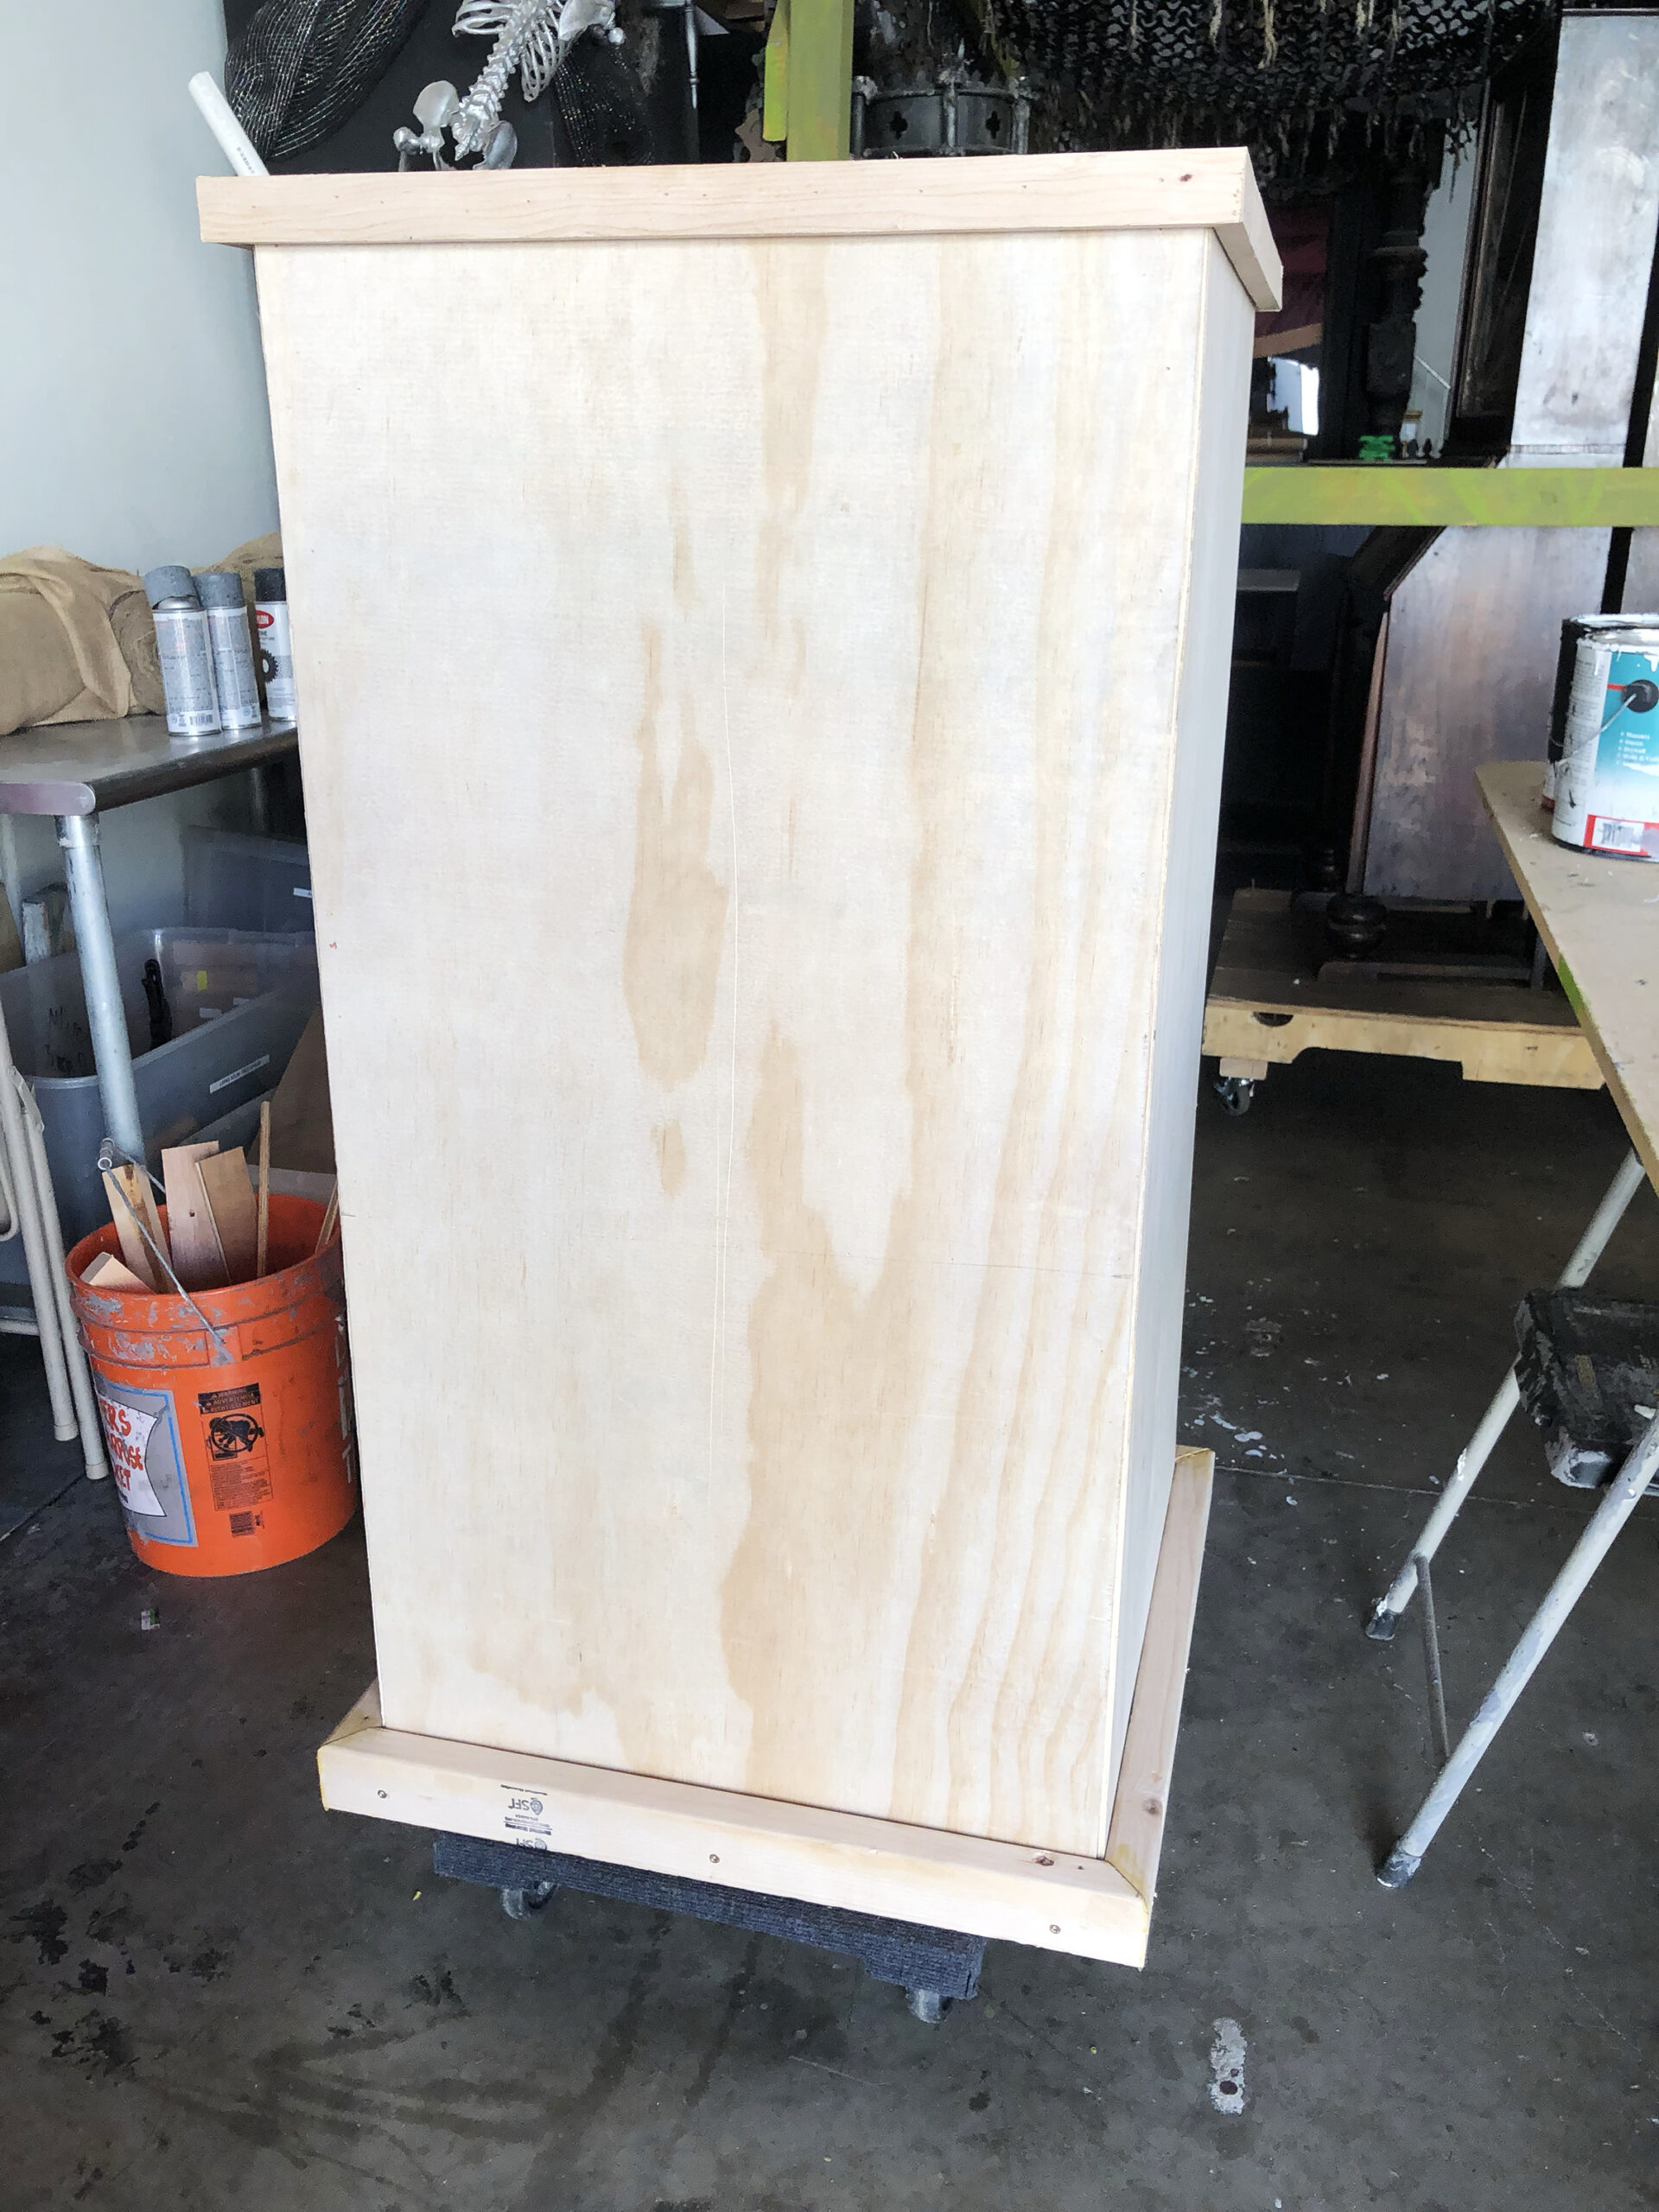
Build your box to the desired height with the 2×2’s. Mine are 48″ tall x 2′ width x 2′ depth. Be sure to cut all the 2×2’s first to create the frame on the box and screw it together.
Cut your plywood for all 4 sides using wood glue on a 2×2, then lay the plywood side on the frame and nail to the frame using a nail gun. I don’t use screws on the outside meaning you don’t see the screw or hole. When assembling, add the top piece of the box and if something heavier is going on top, I use a slightly thicker plywood for the top.
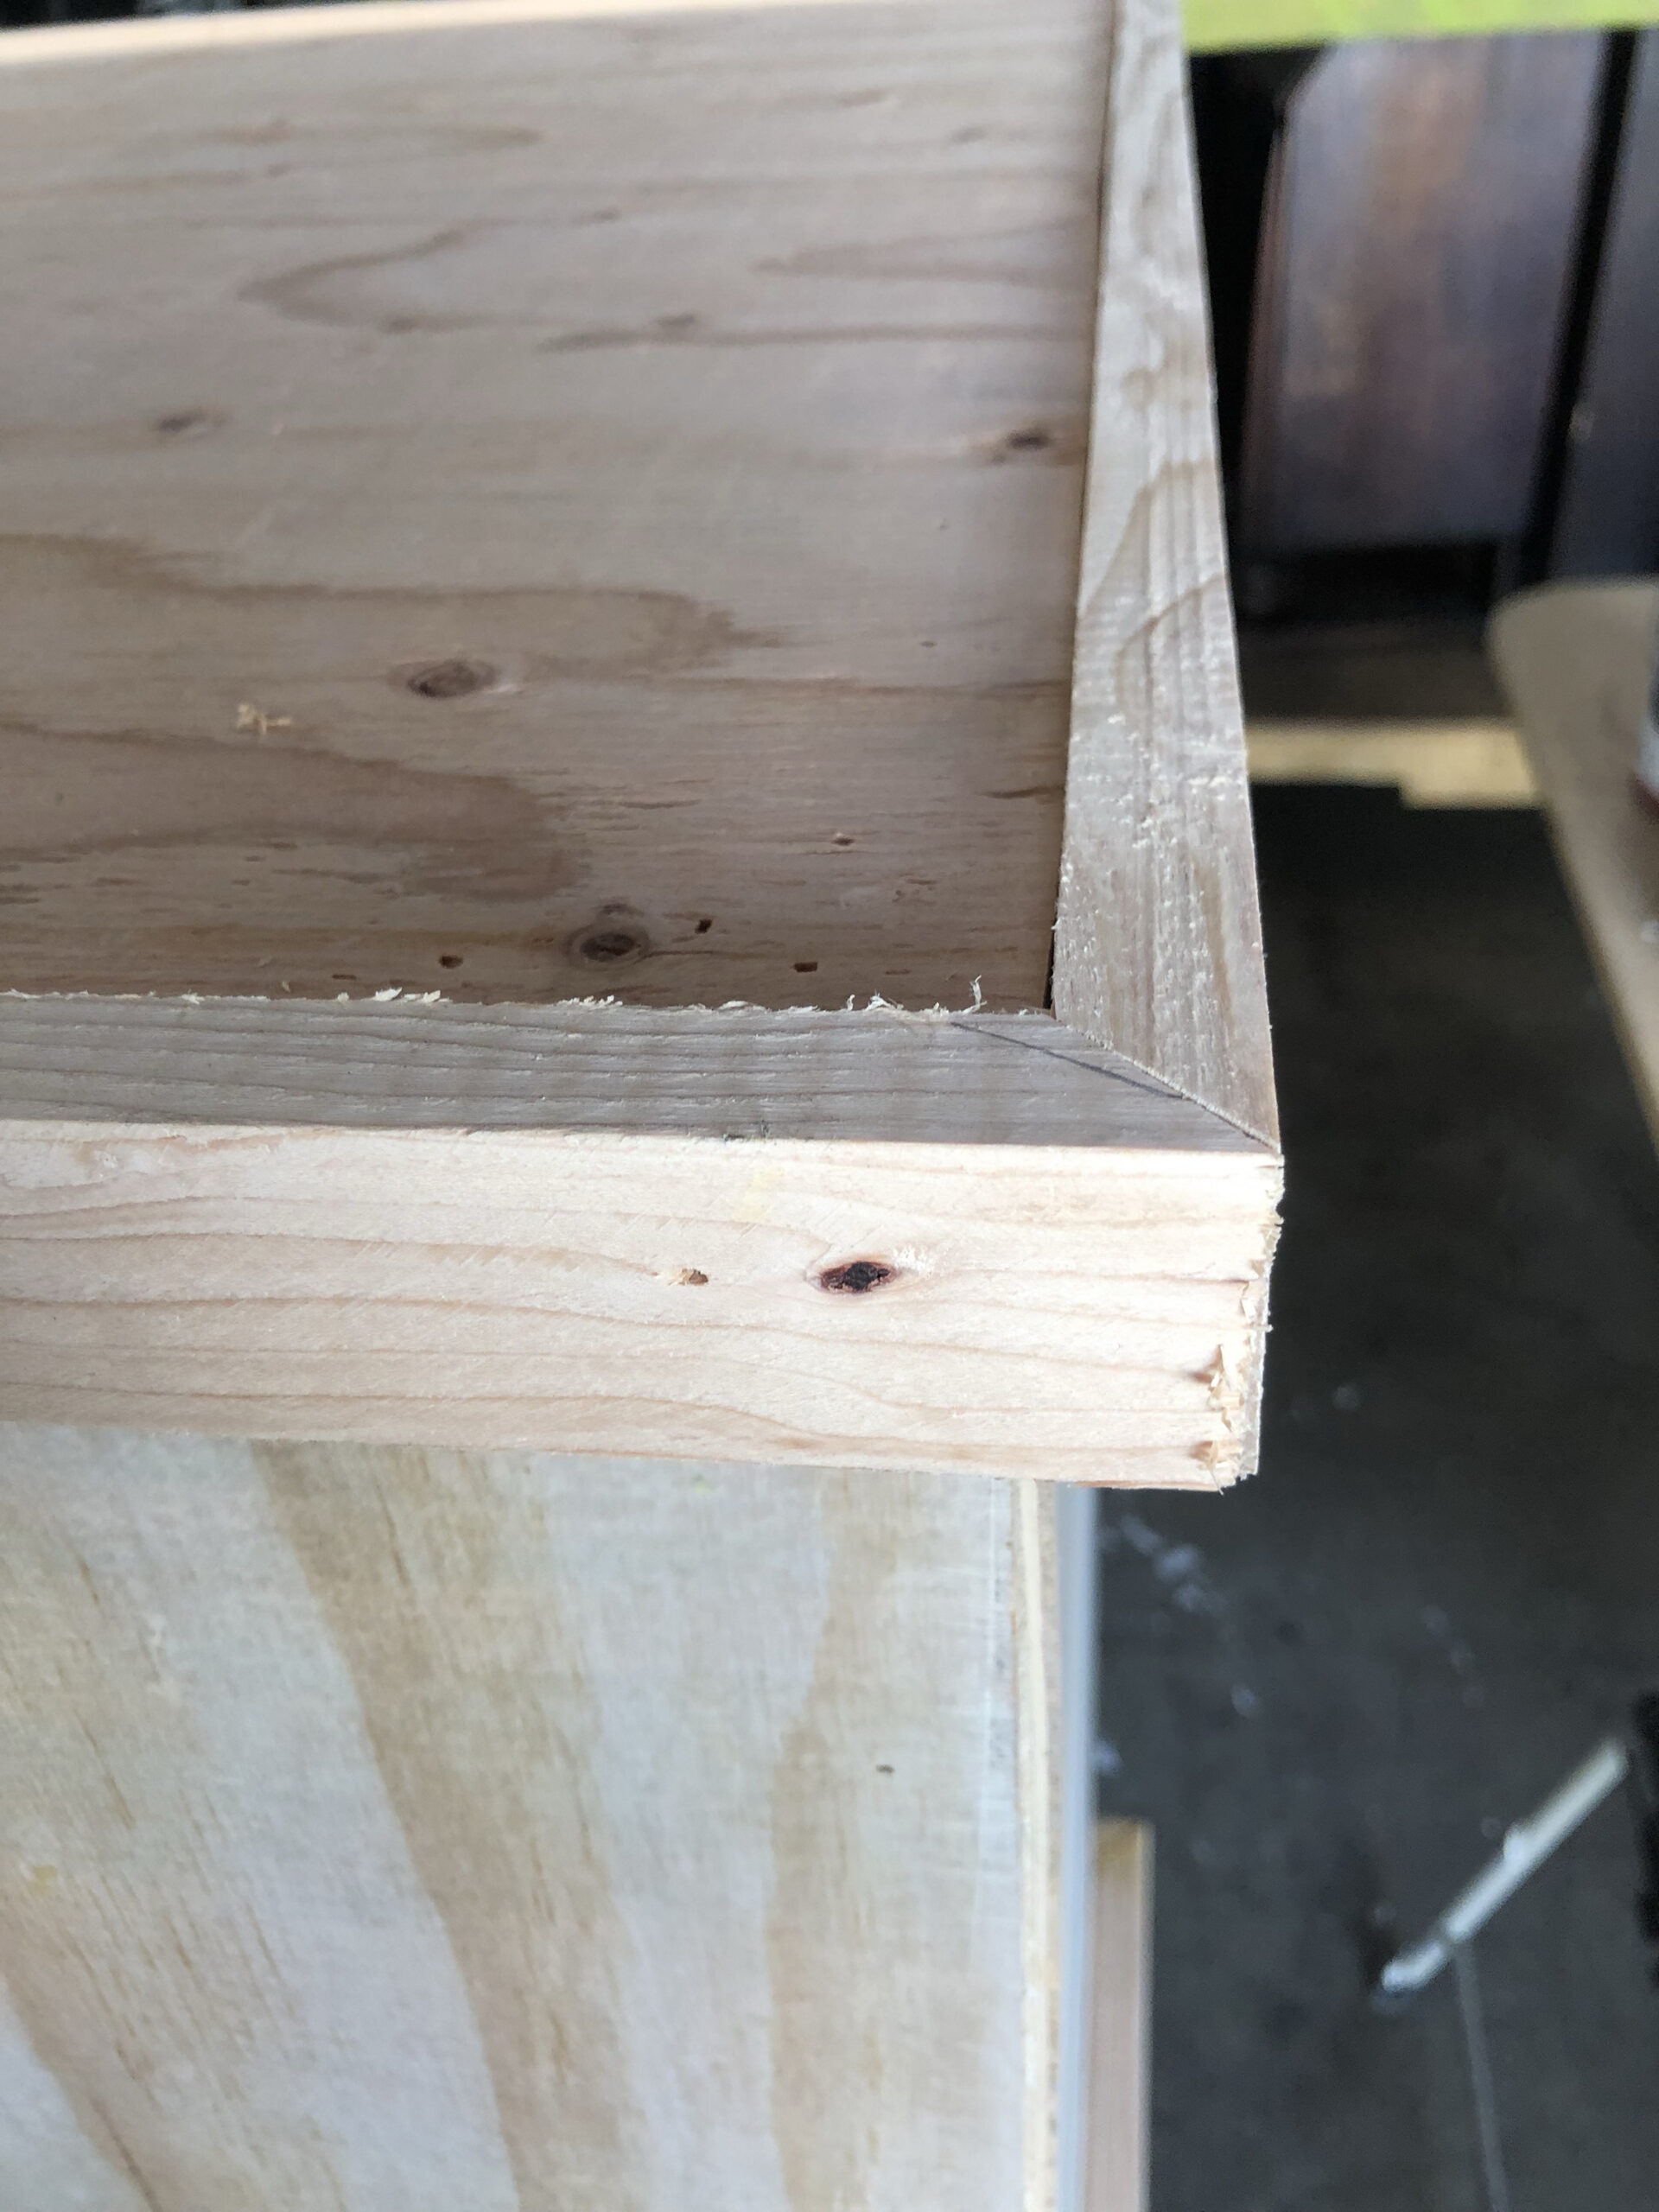
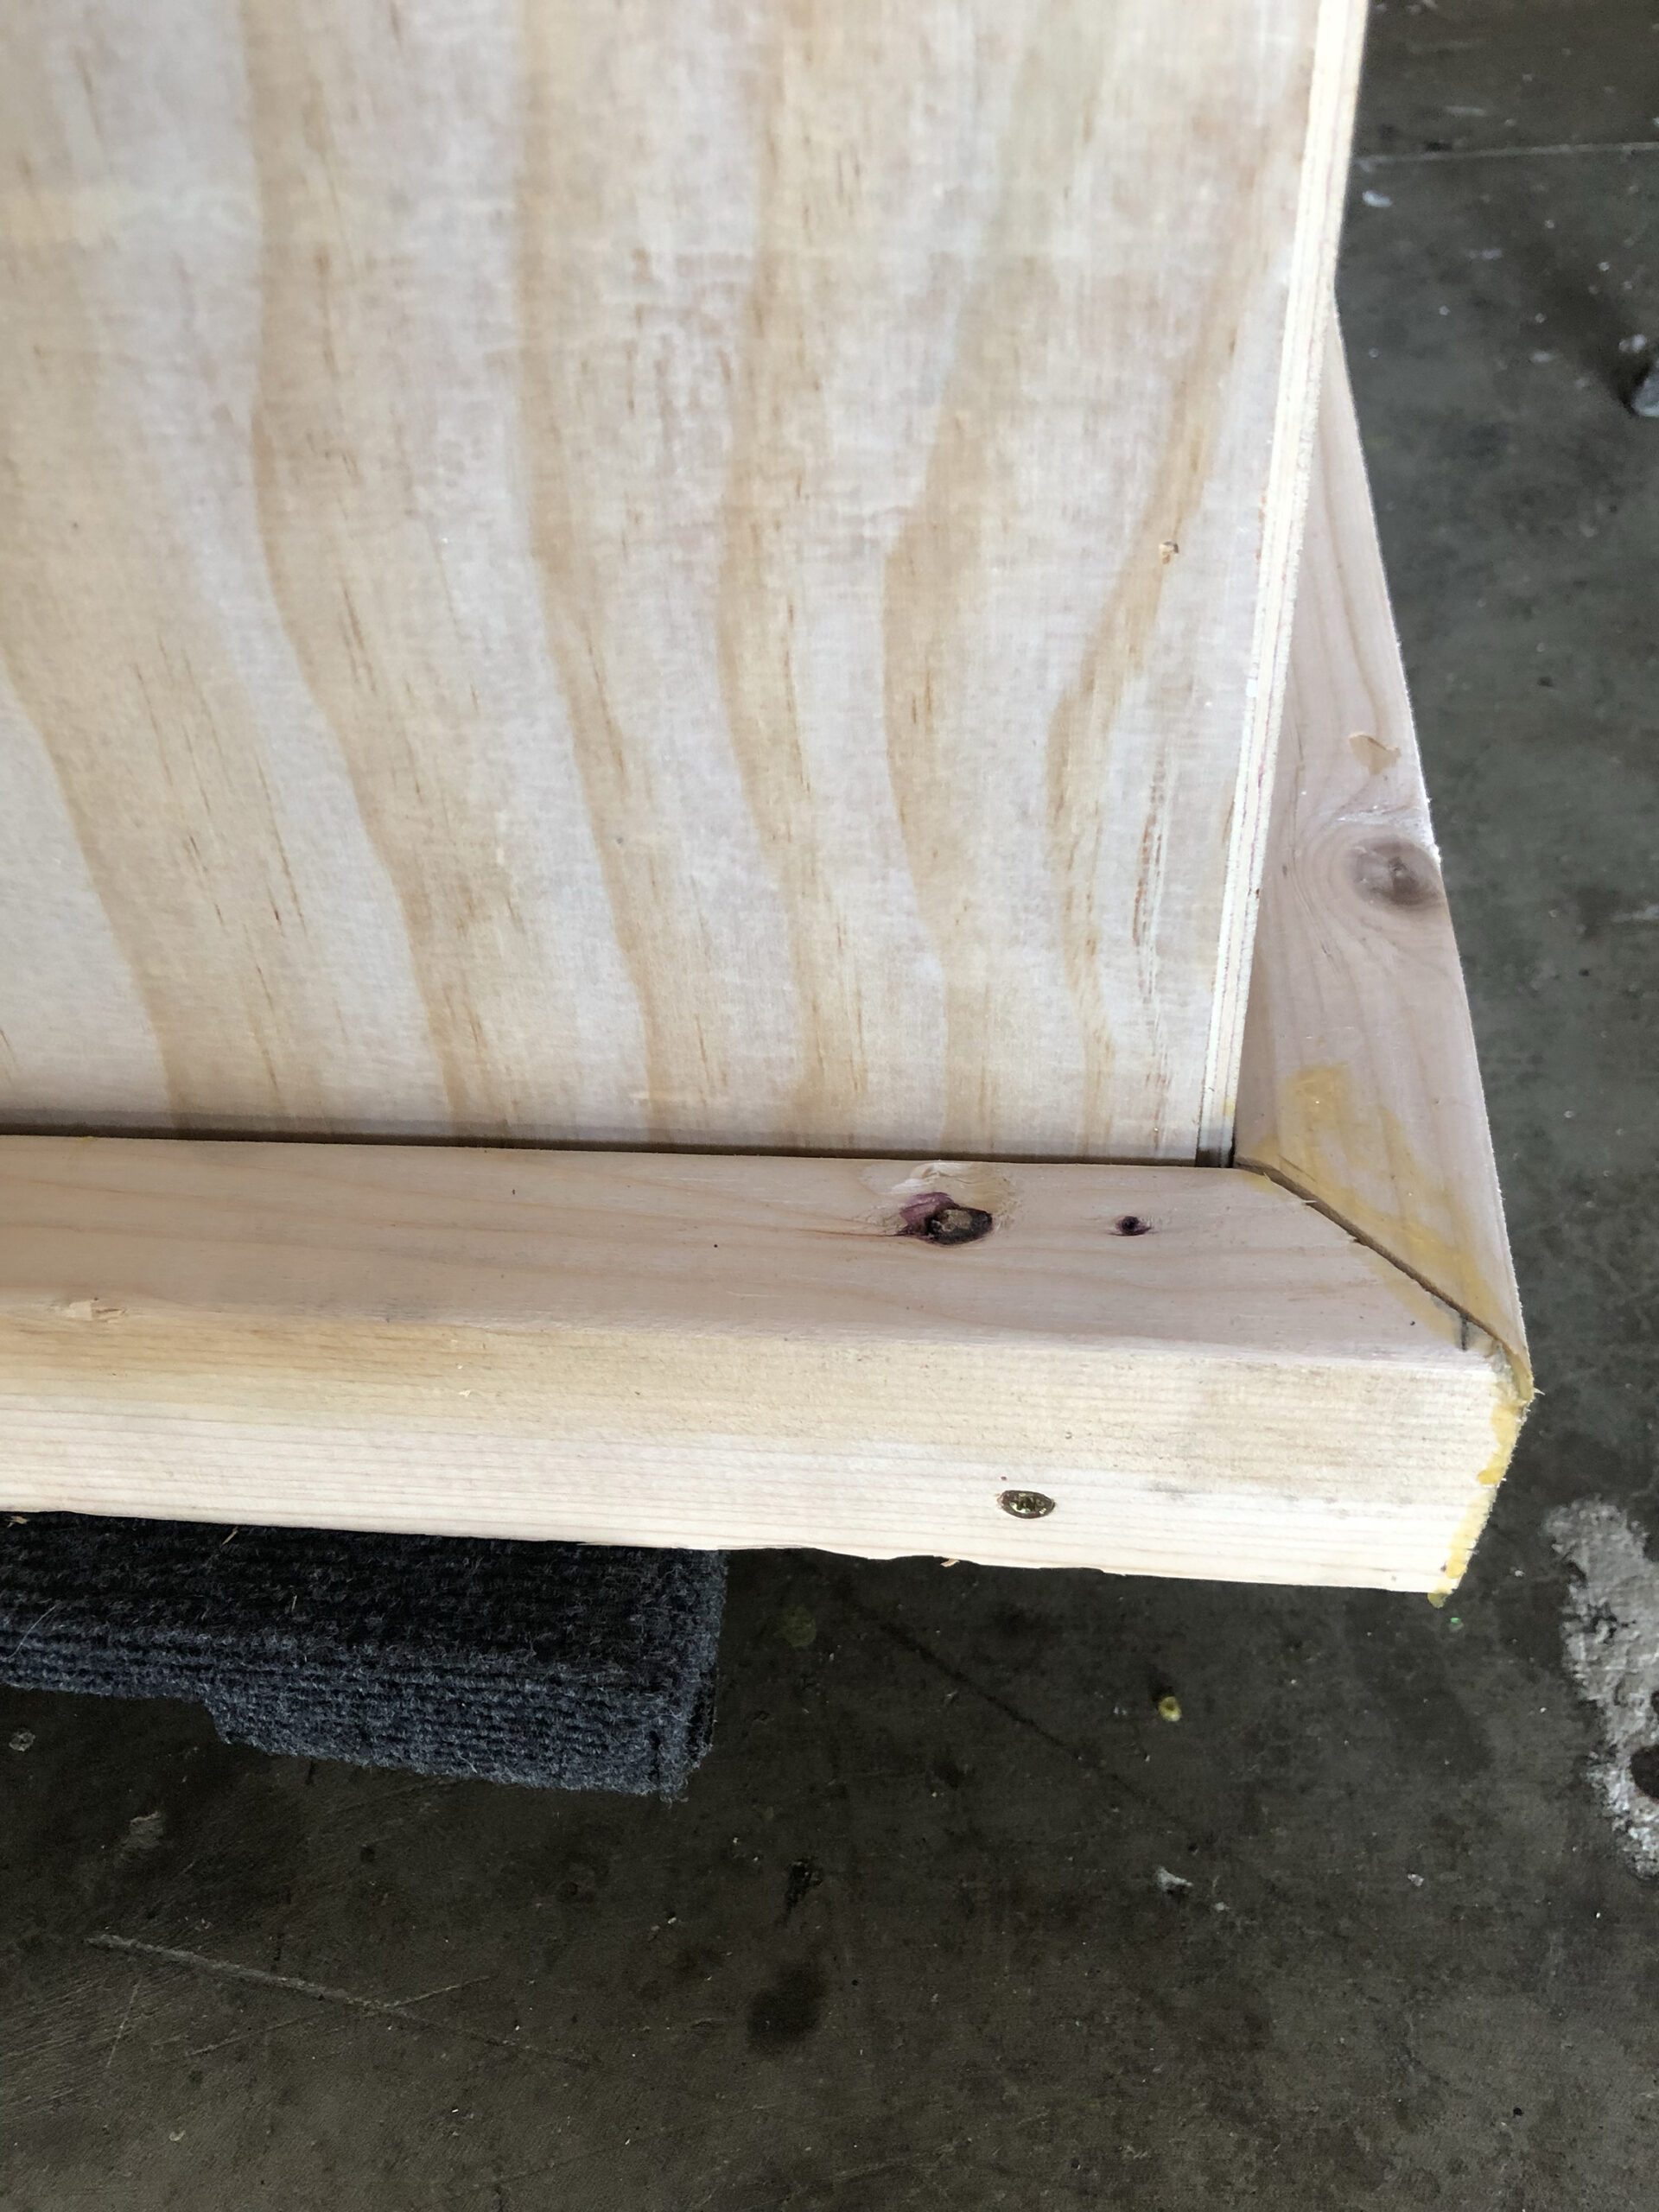
Once you have your box, I then trim the top with 2×2 cut at an angle on the ends. I frame the bottom with the 2×4 and screw them on as well. Once assembled its time to paint.
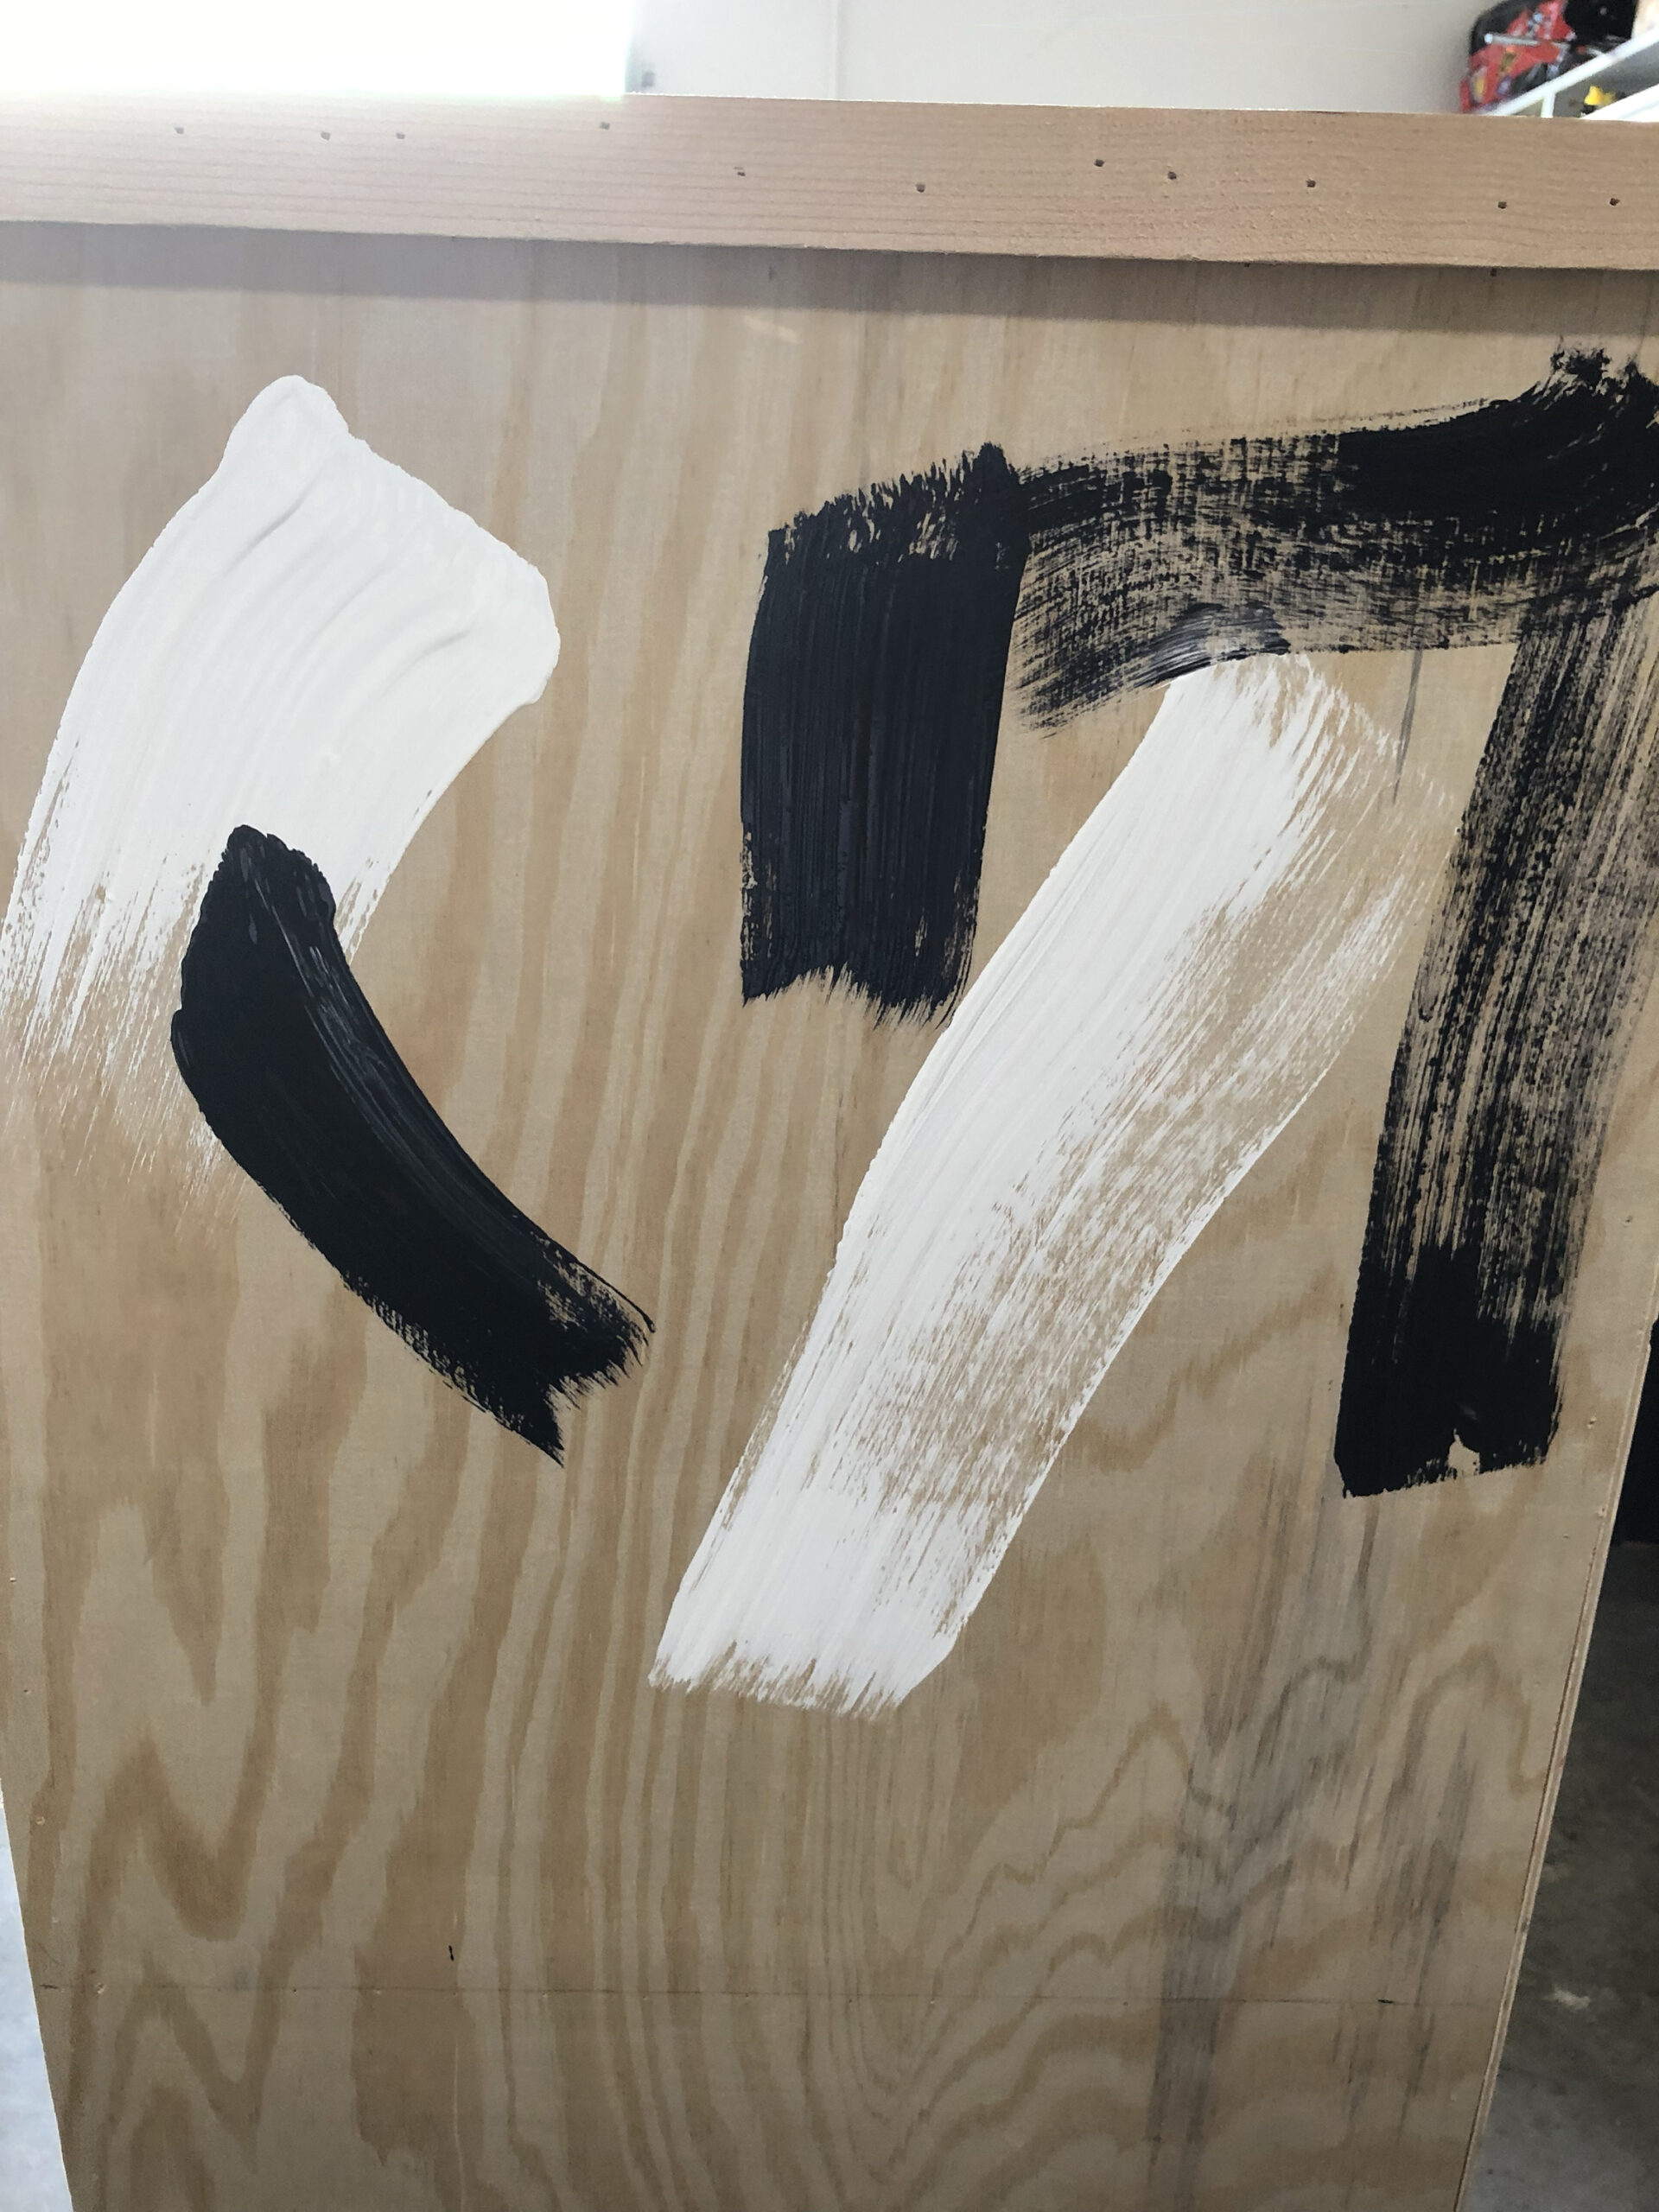
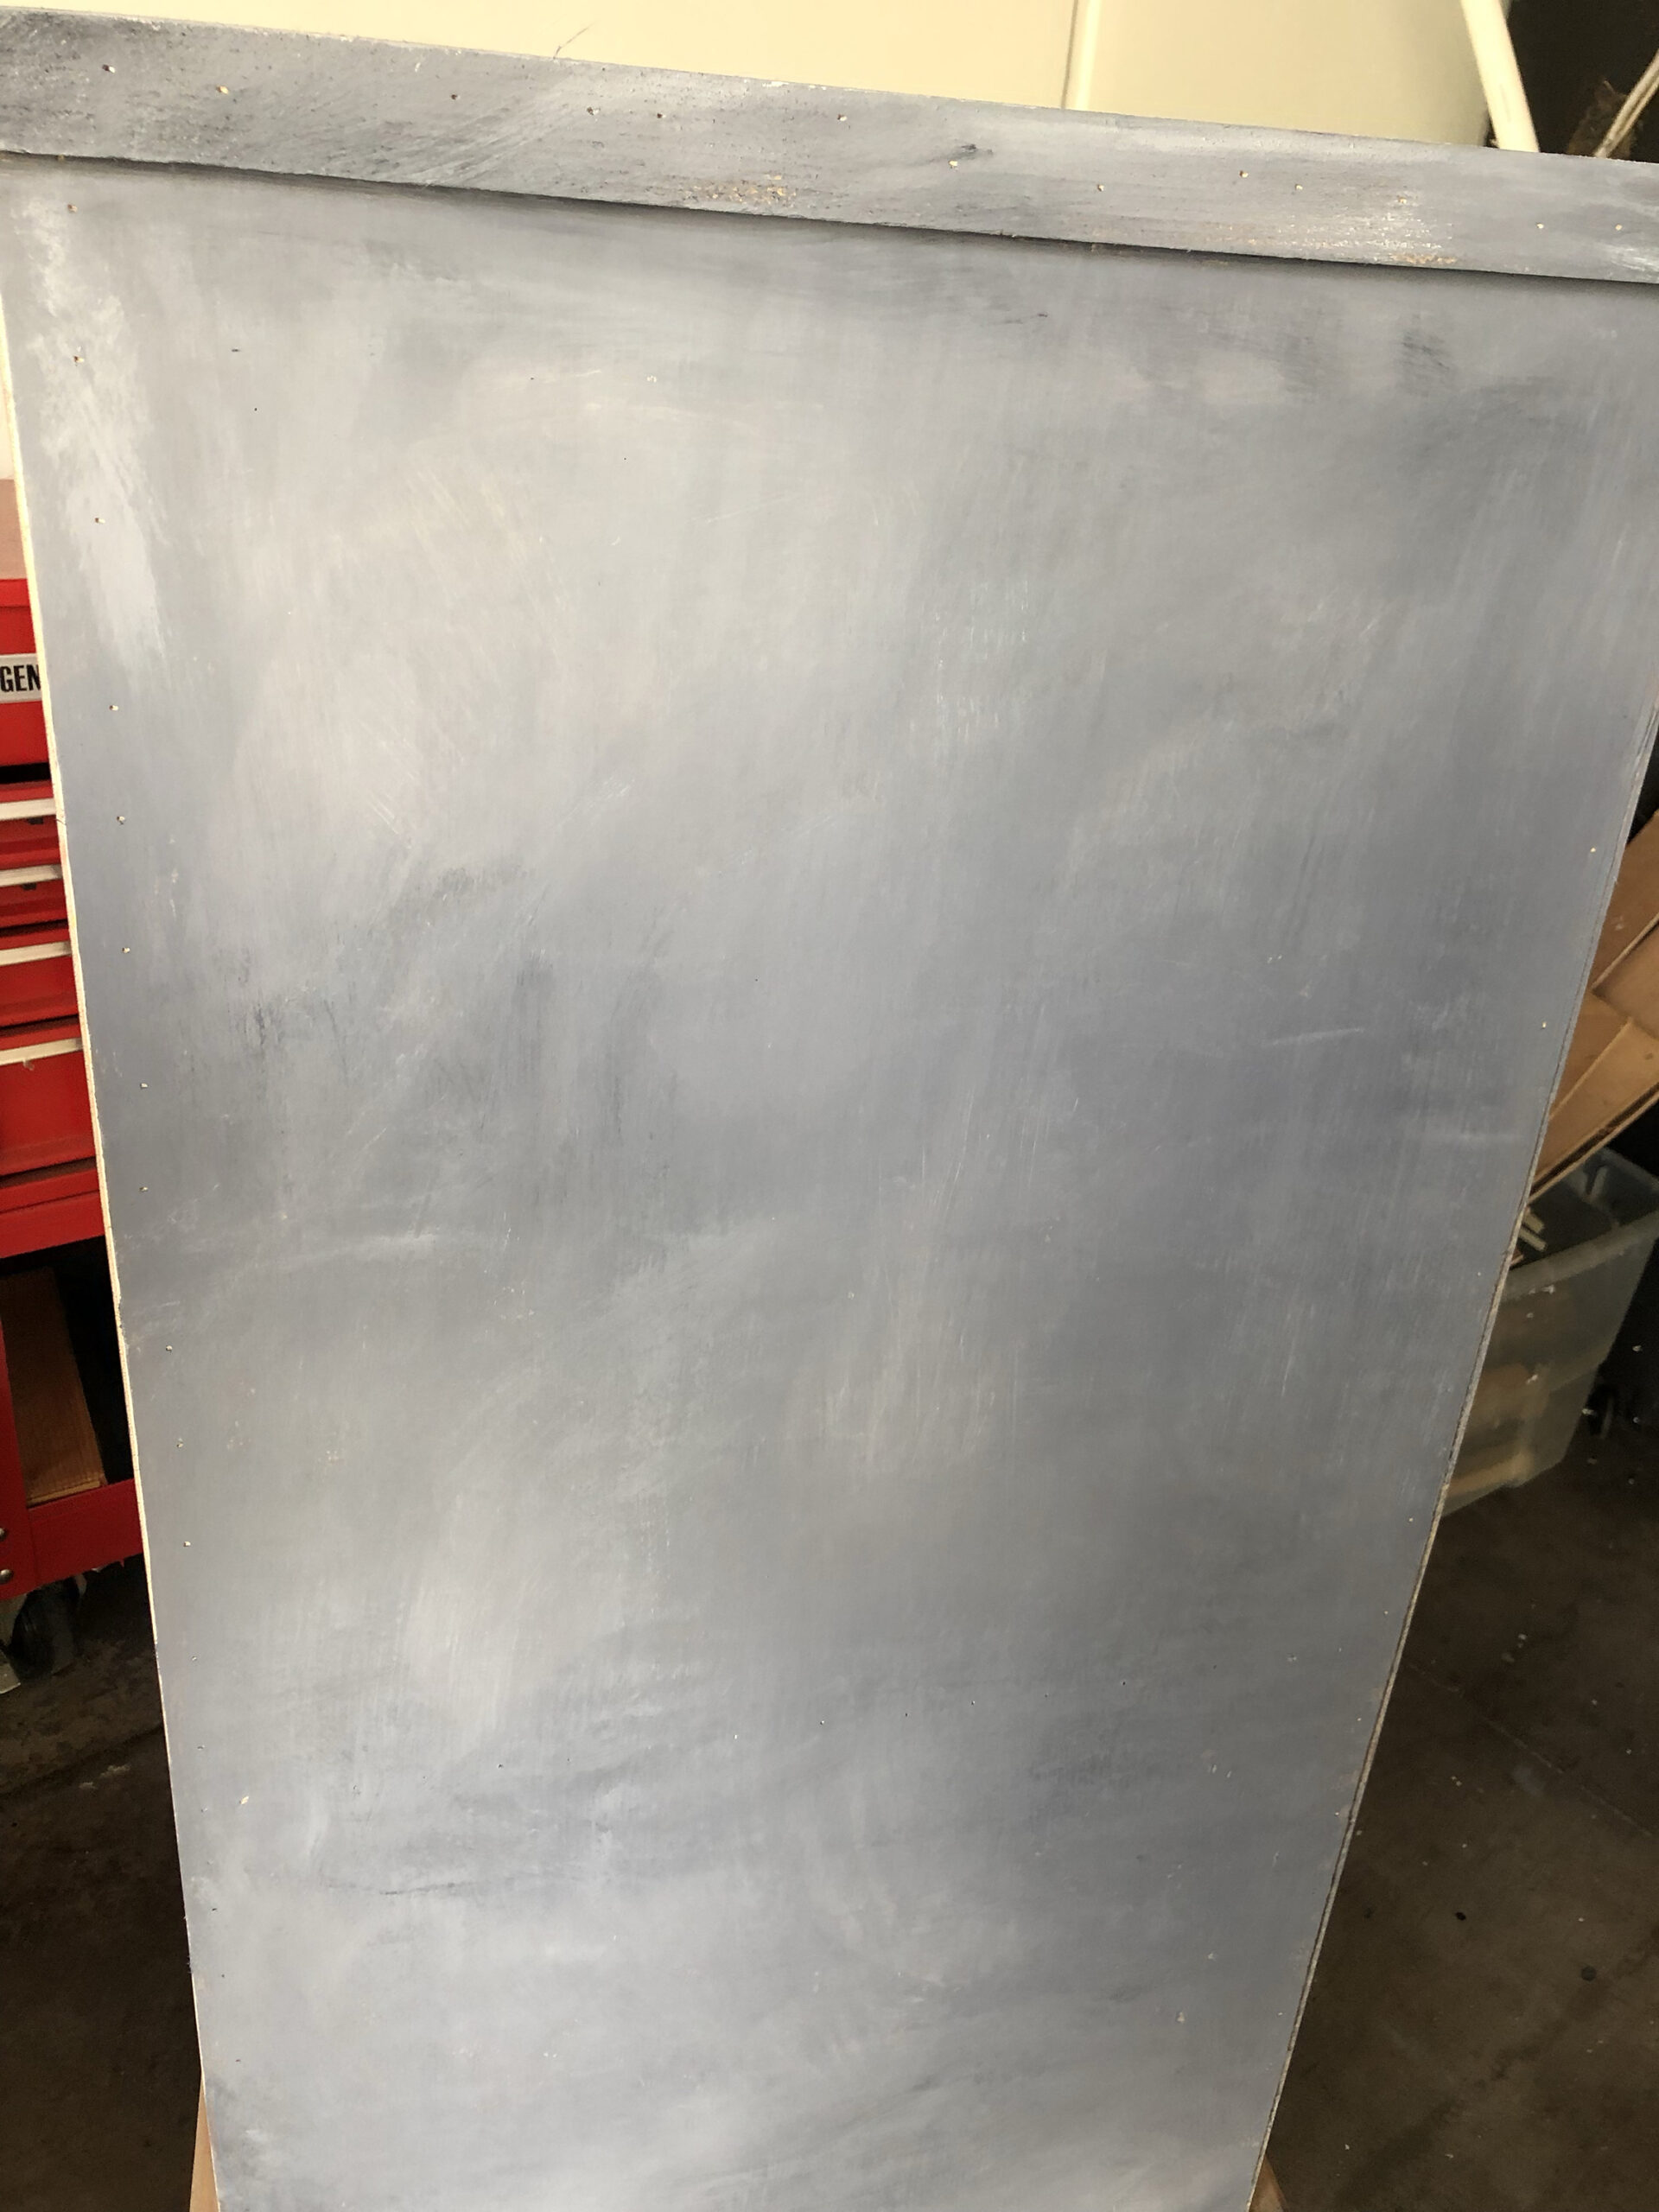
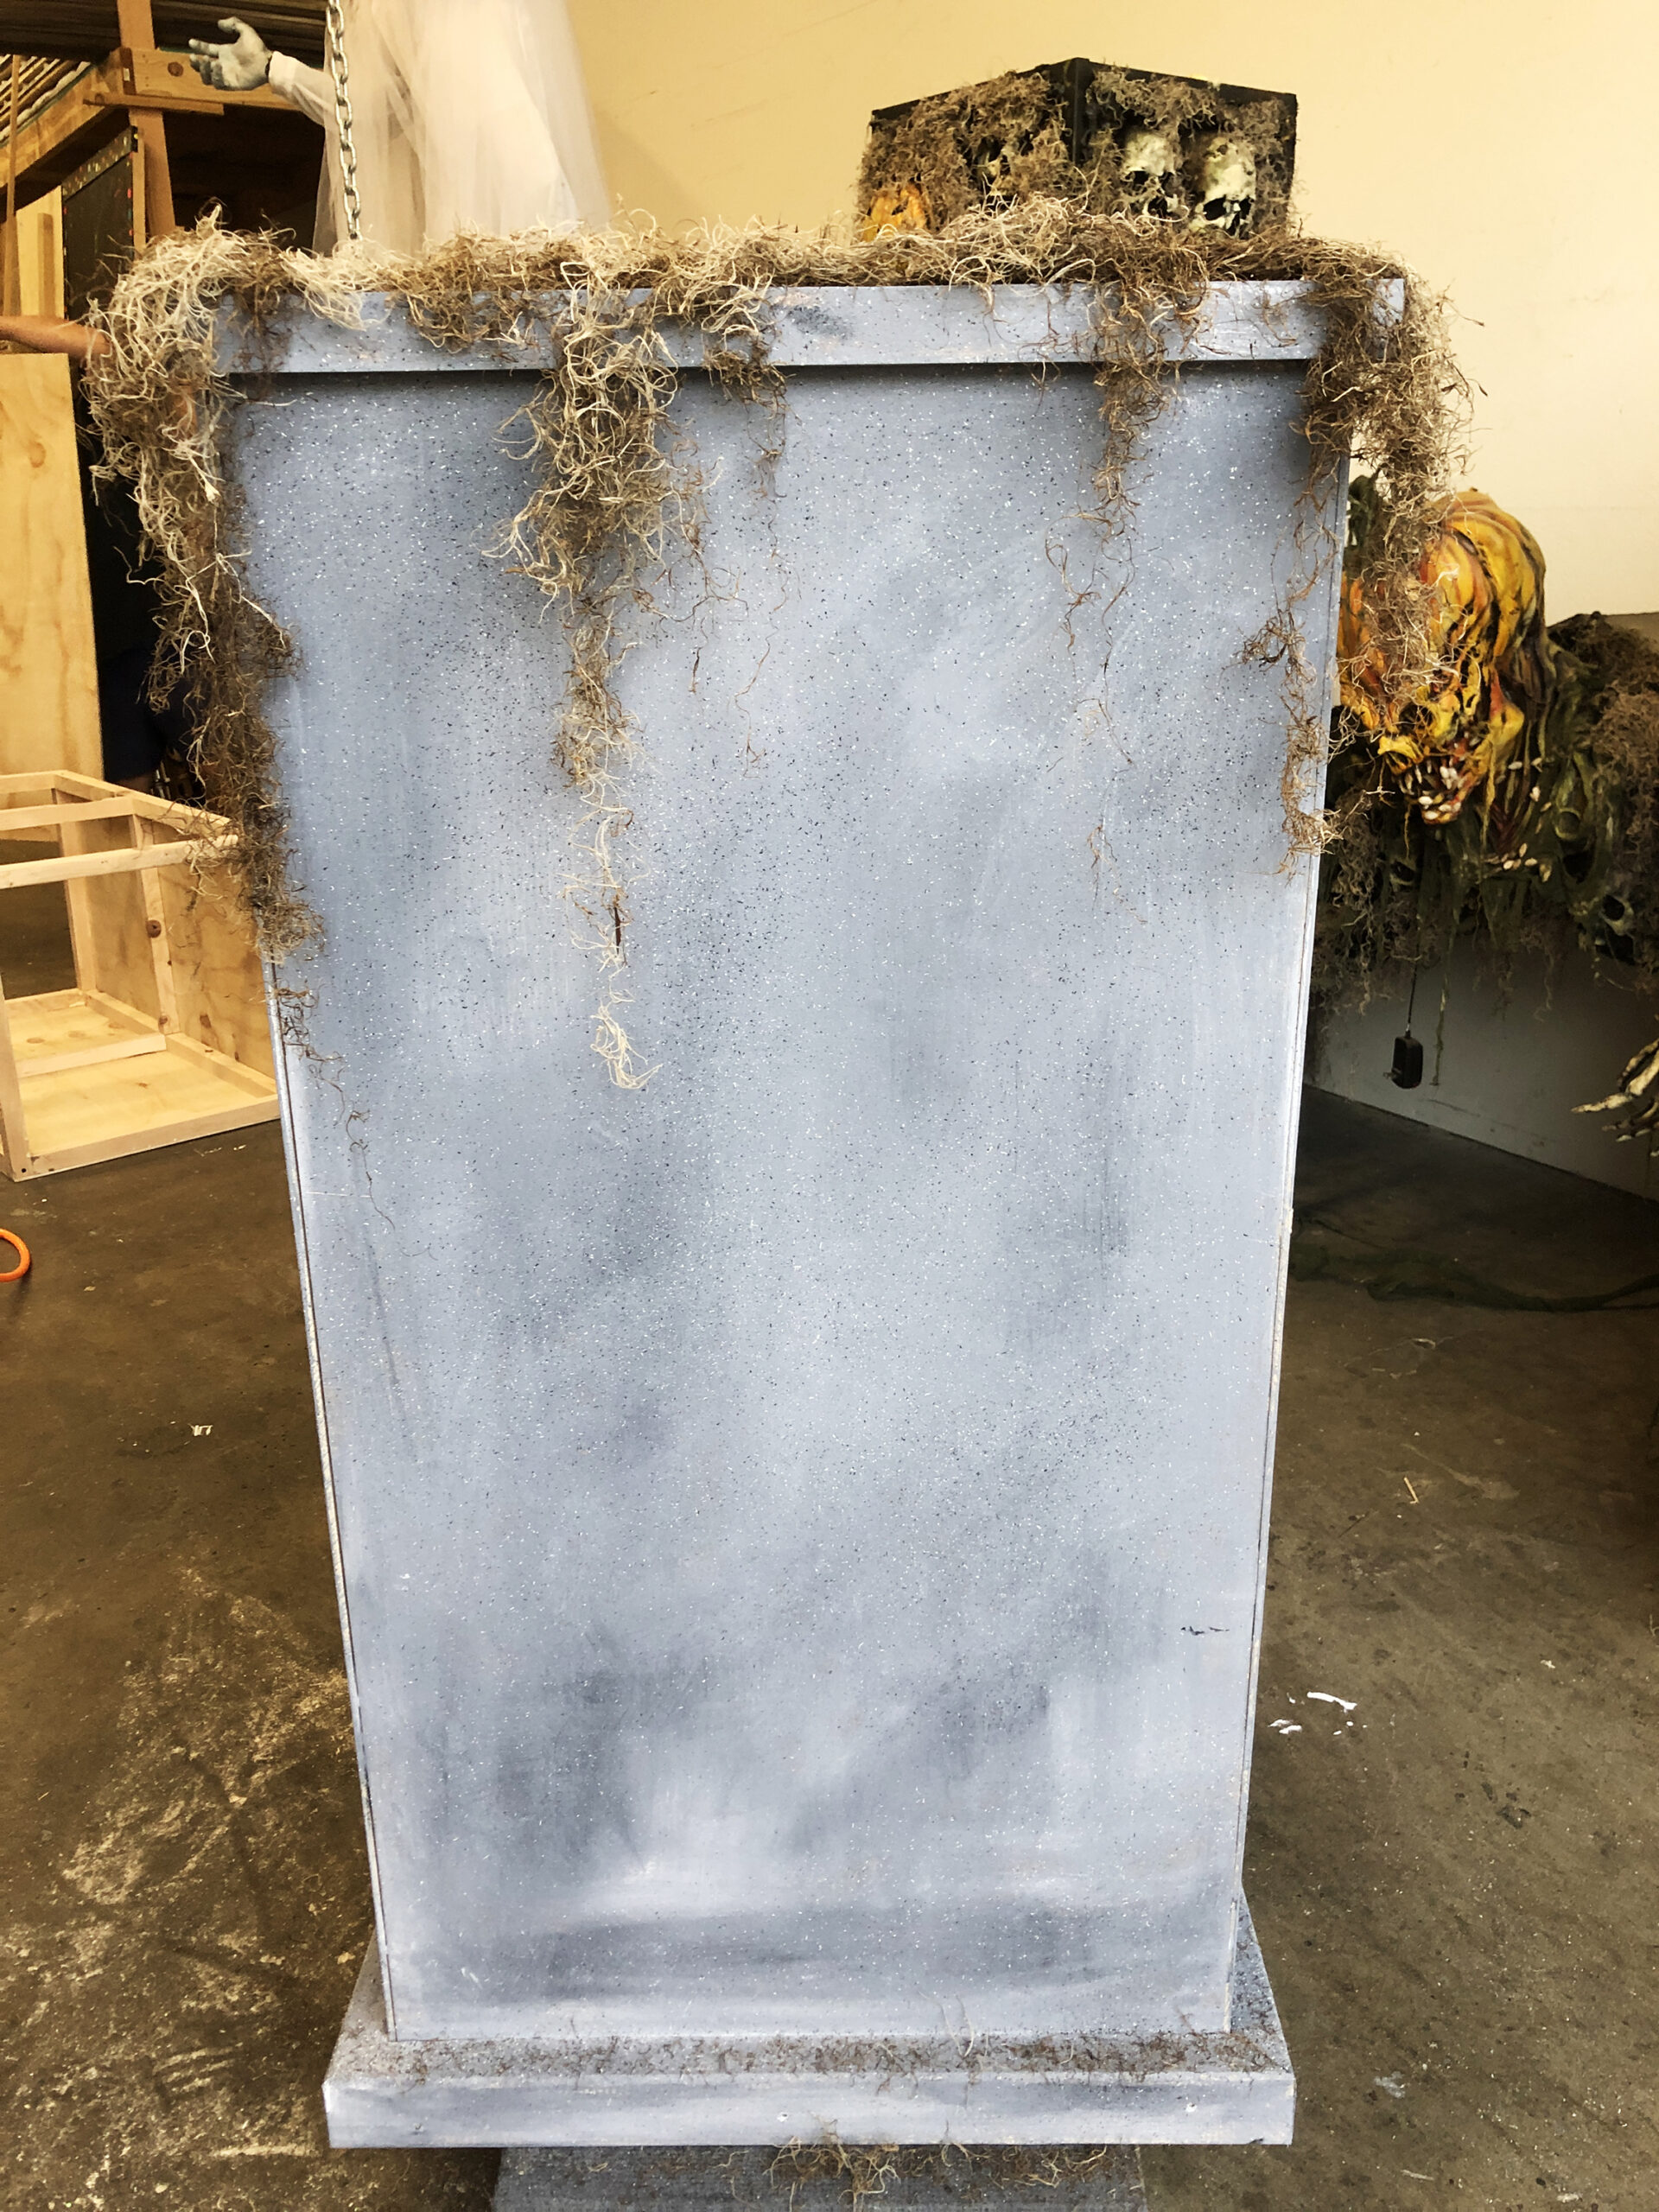
When looking at real stone you will noticed its not just grey but shades of greys, ranging from lighter shades through to darker shades. To achieve this shading, I start at the top of one side and work my way down. Using 3 different paintbrushes, slap on black and then white in-between the black. With a separate brush start working the paints together in both up and down and side to side motion working in small areas from top to bottom.
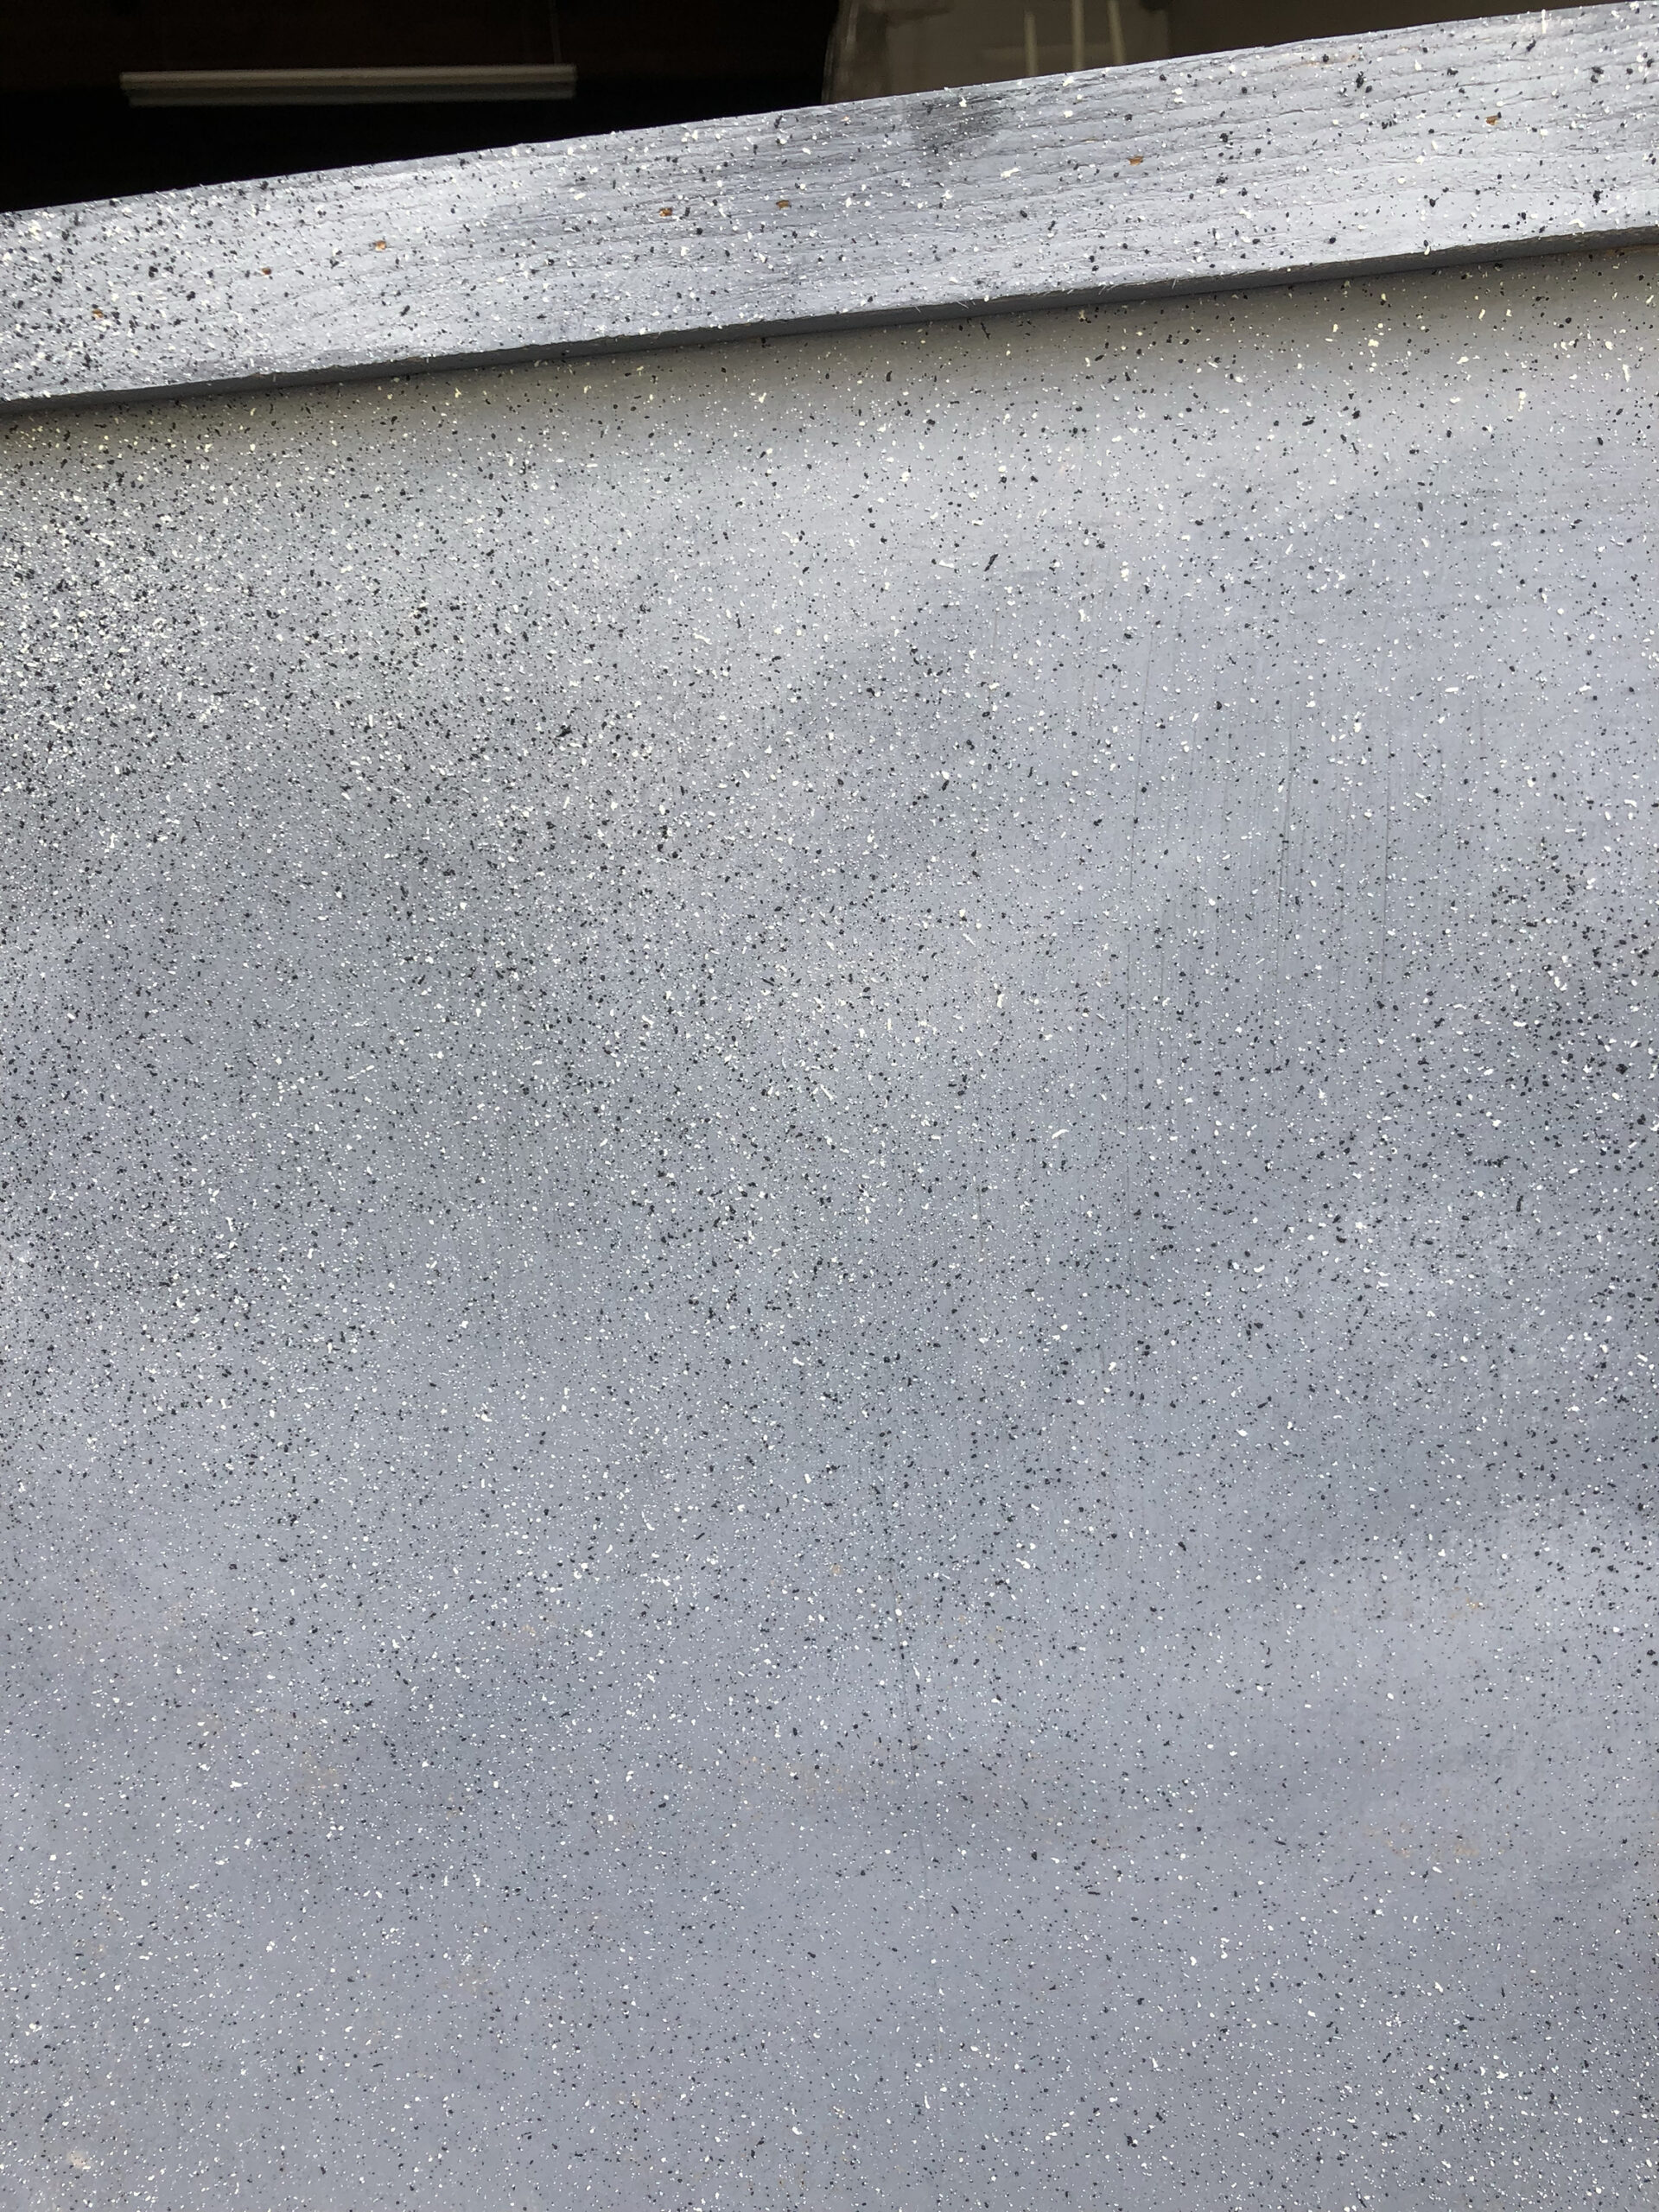
Once you have done this to the entire pillar, then you can lightly use the Krylon from a distance to dust all 4 sides with the coarse Obsidian and Granite. Let this dry completely.
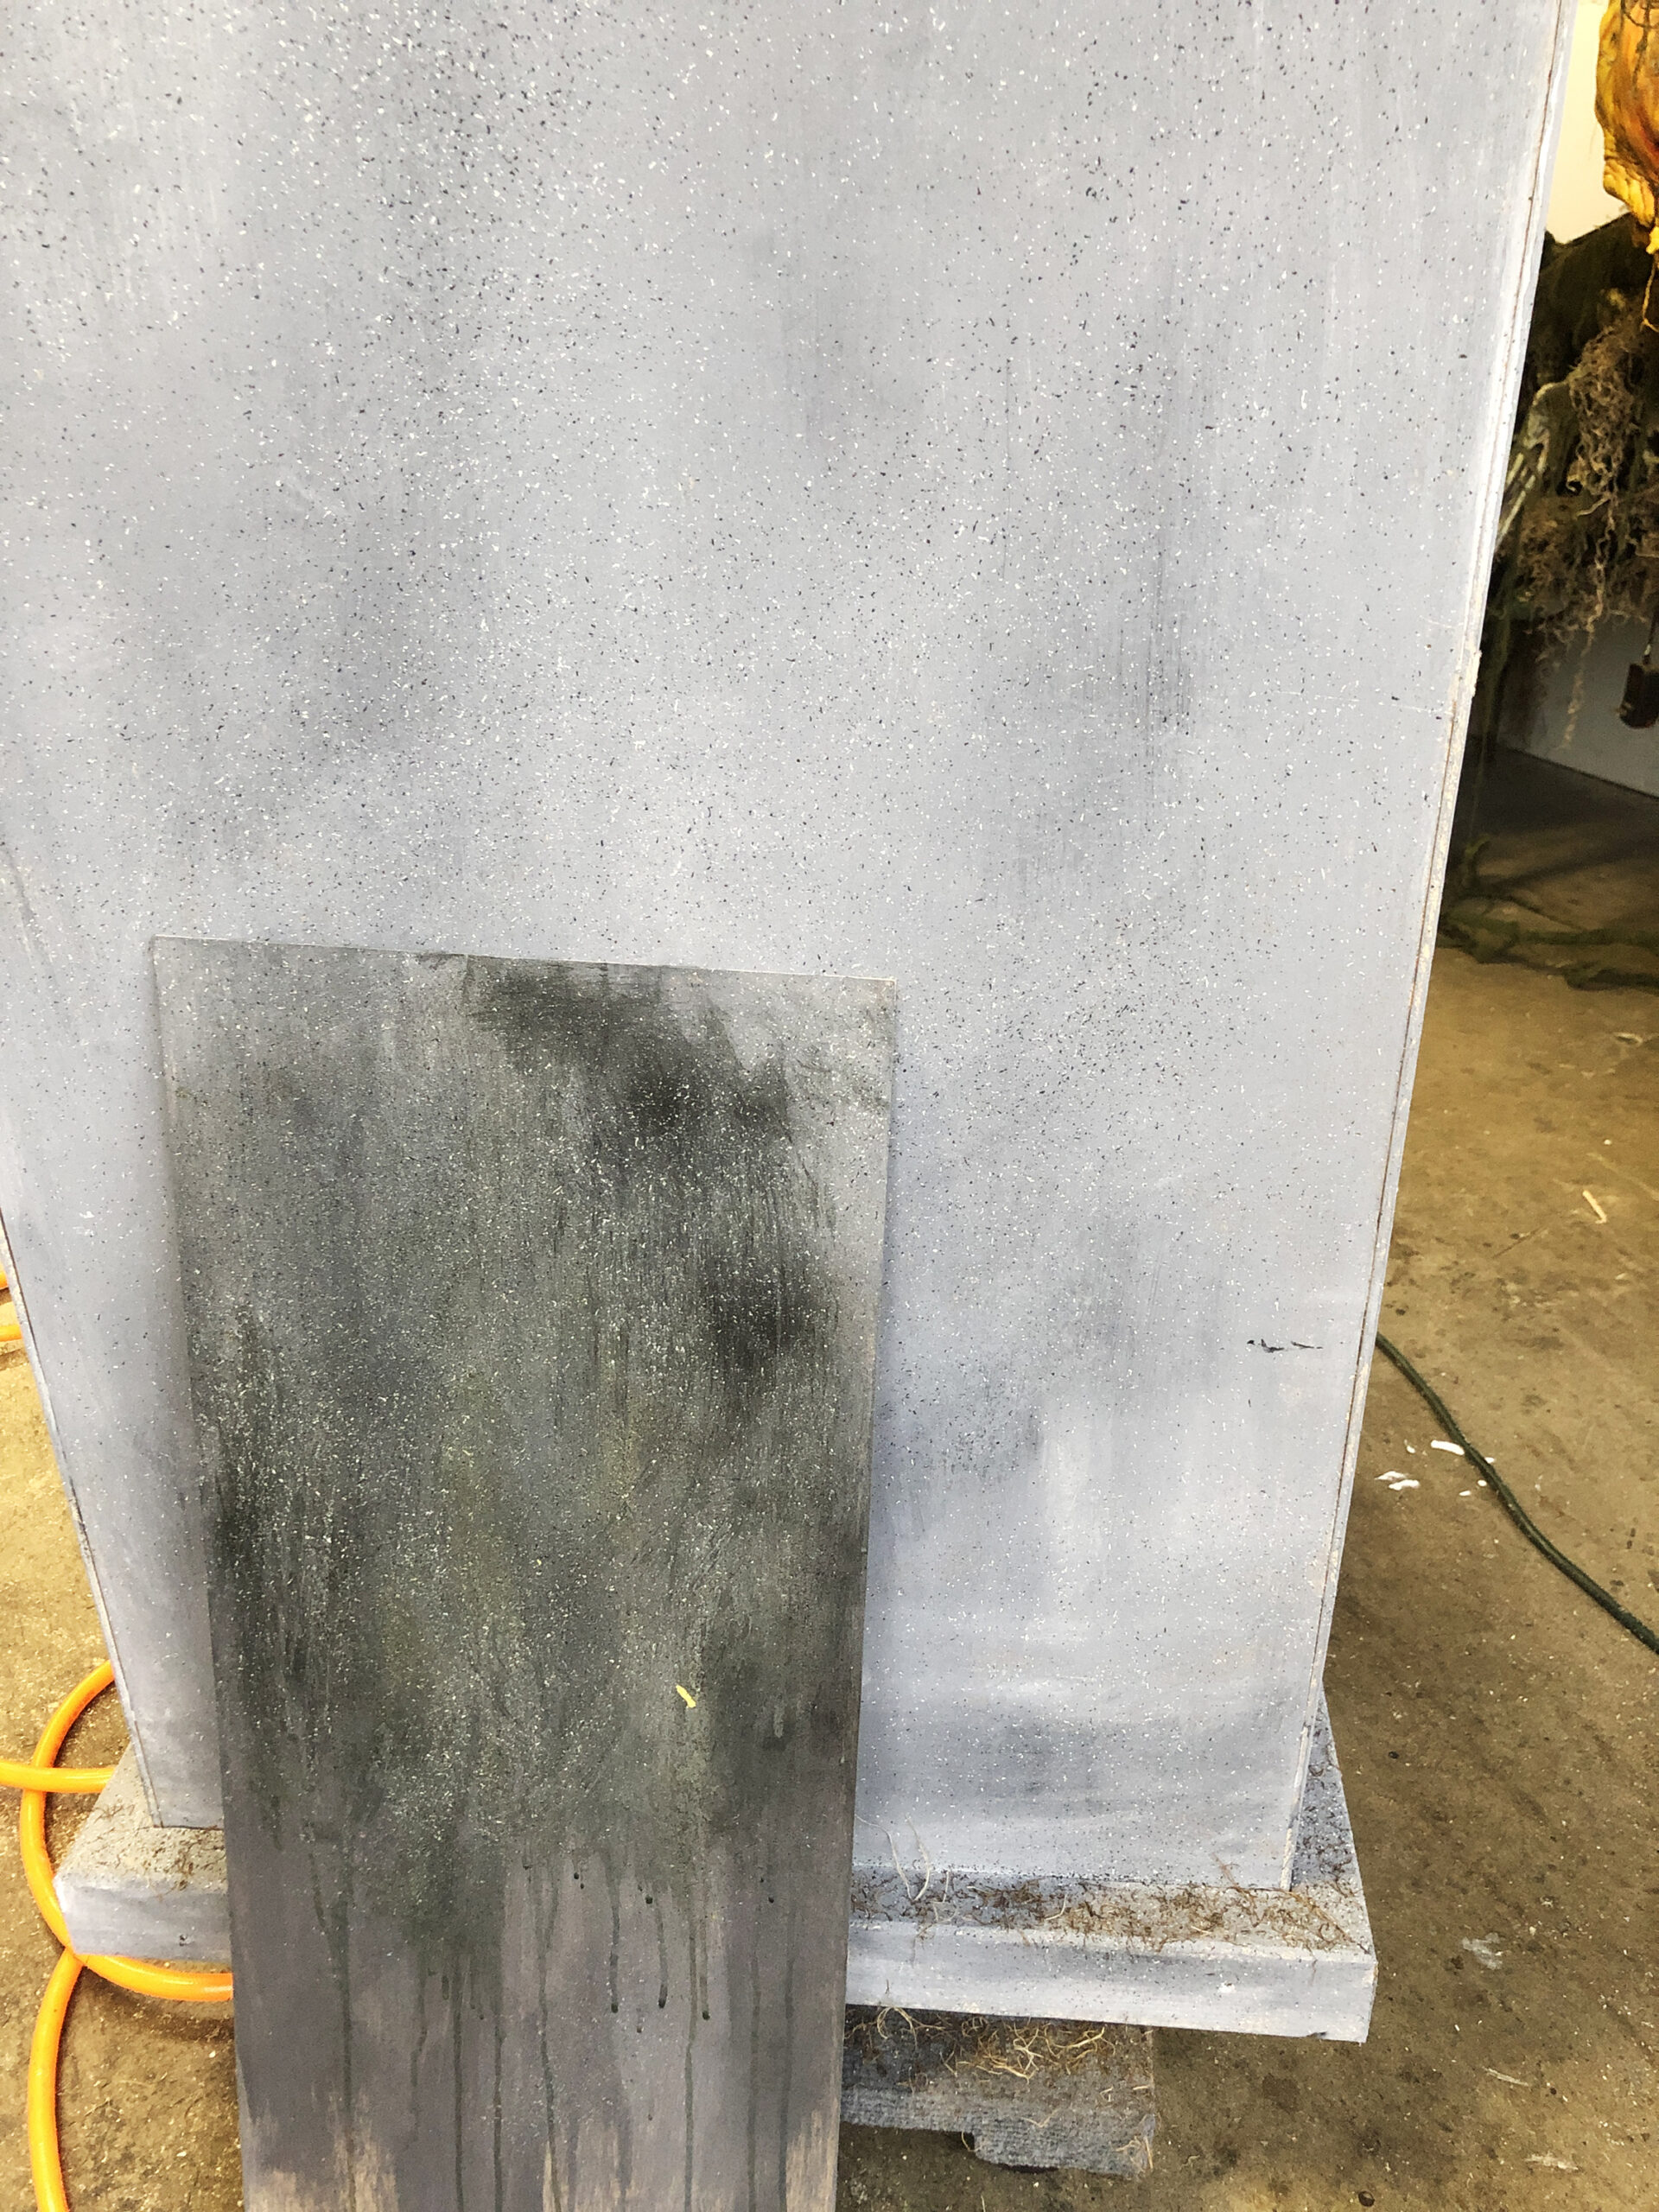
My client requested that I age it a bit, so after it had dried I then sprayed some urban decay on a few areas (its very watery so use a sponge to catch or mop up drips as you go). Then, from a far distance, I misted on my watered down moss-green and dabbed with a paint sponge (use sparingly). I let it dry a bit and then add more decay where I feel it is needed. After letting that dry, I dusted areas with the flat black spray paint, again, from a distance.
I would suggest painting a scrap piece of wood and testing your ageing method on that test strip first to find the degree of ageing you want, before actually doing it on your pillar.
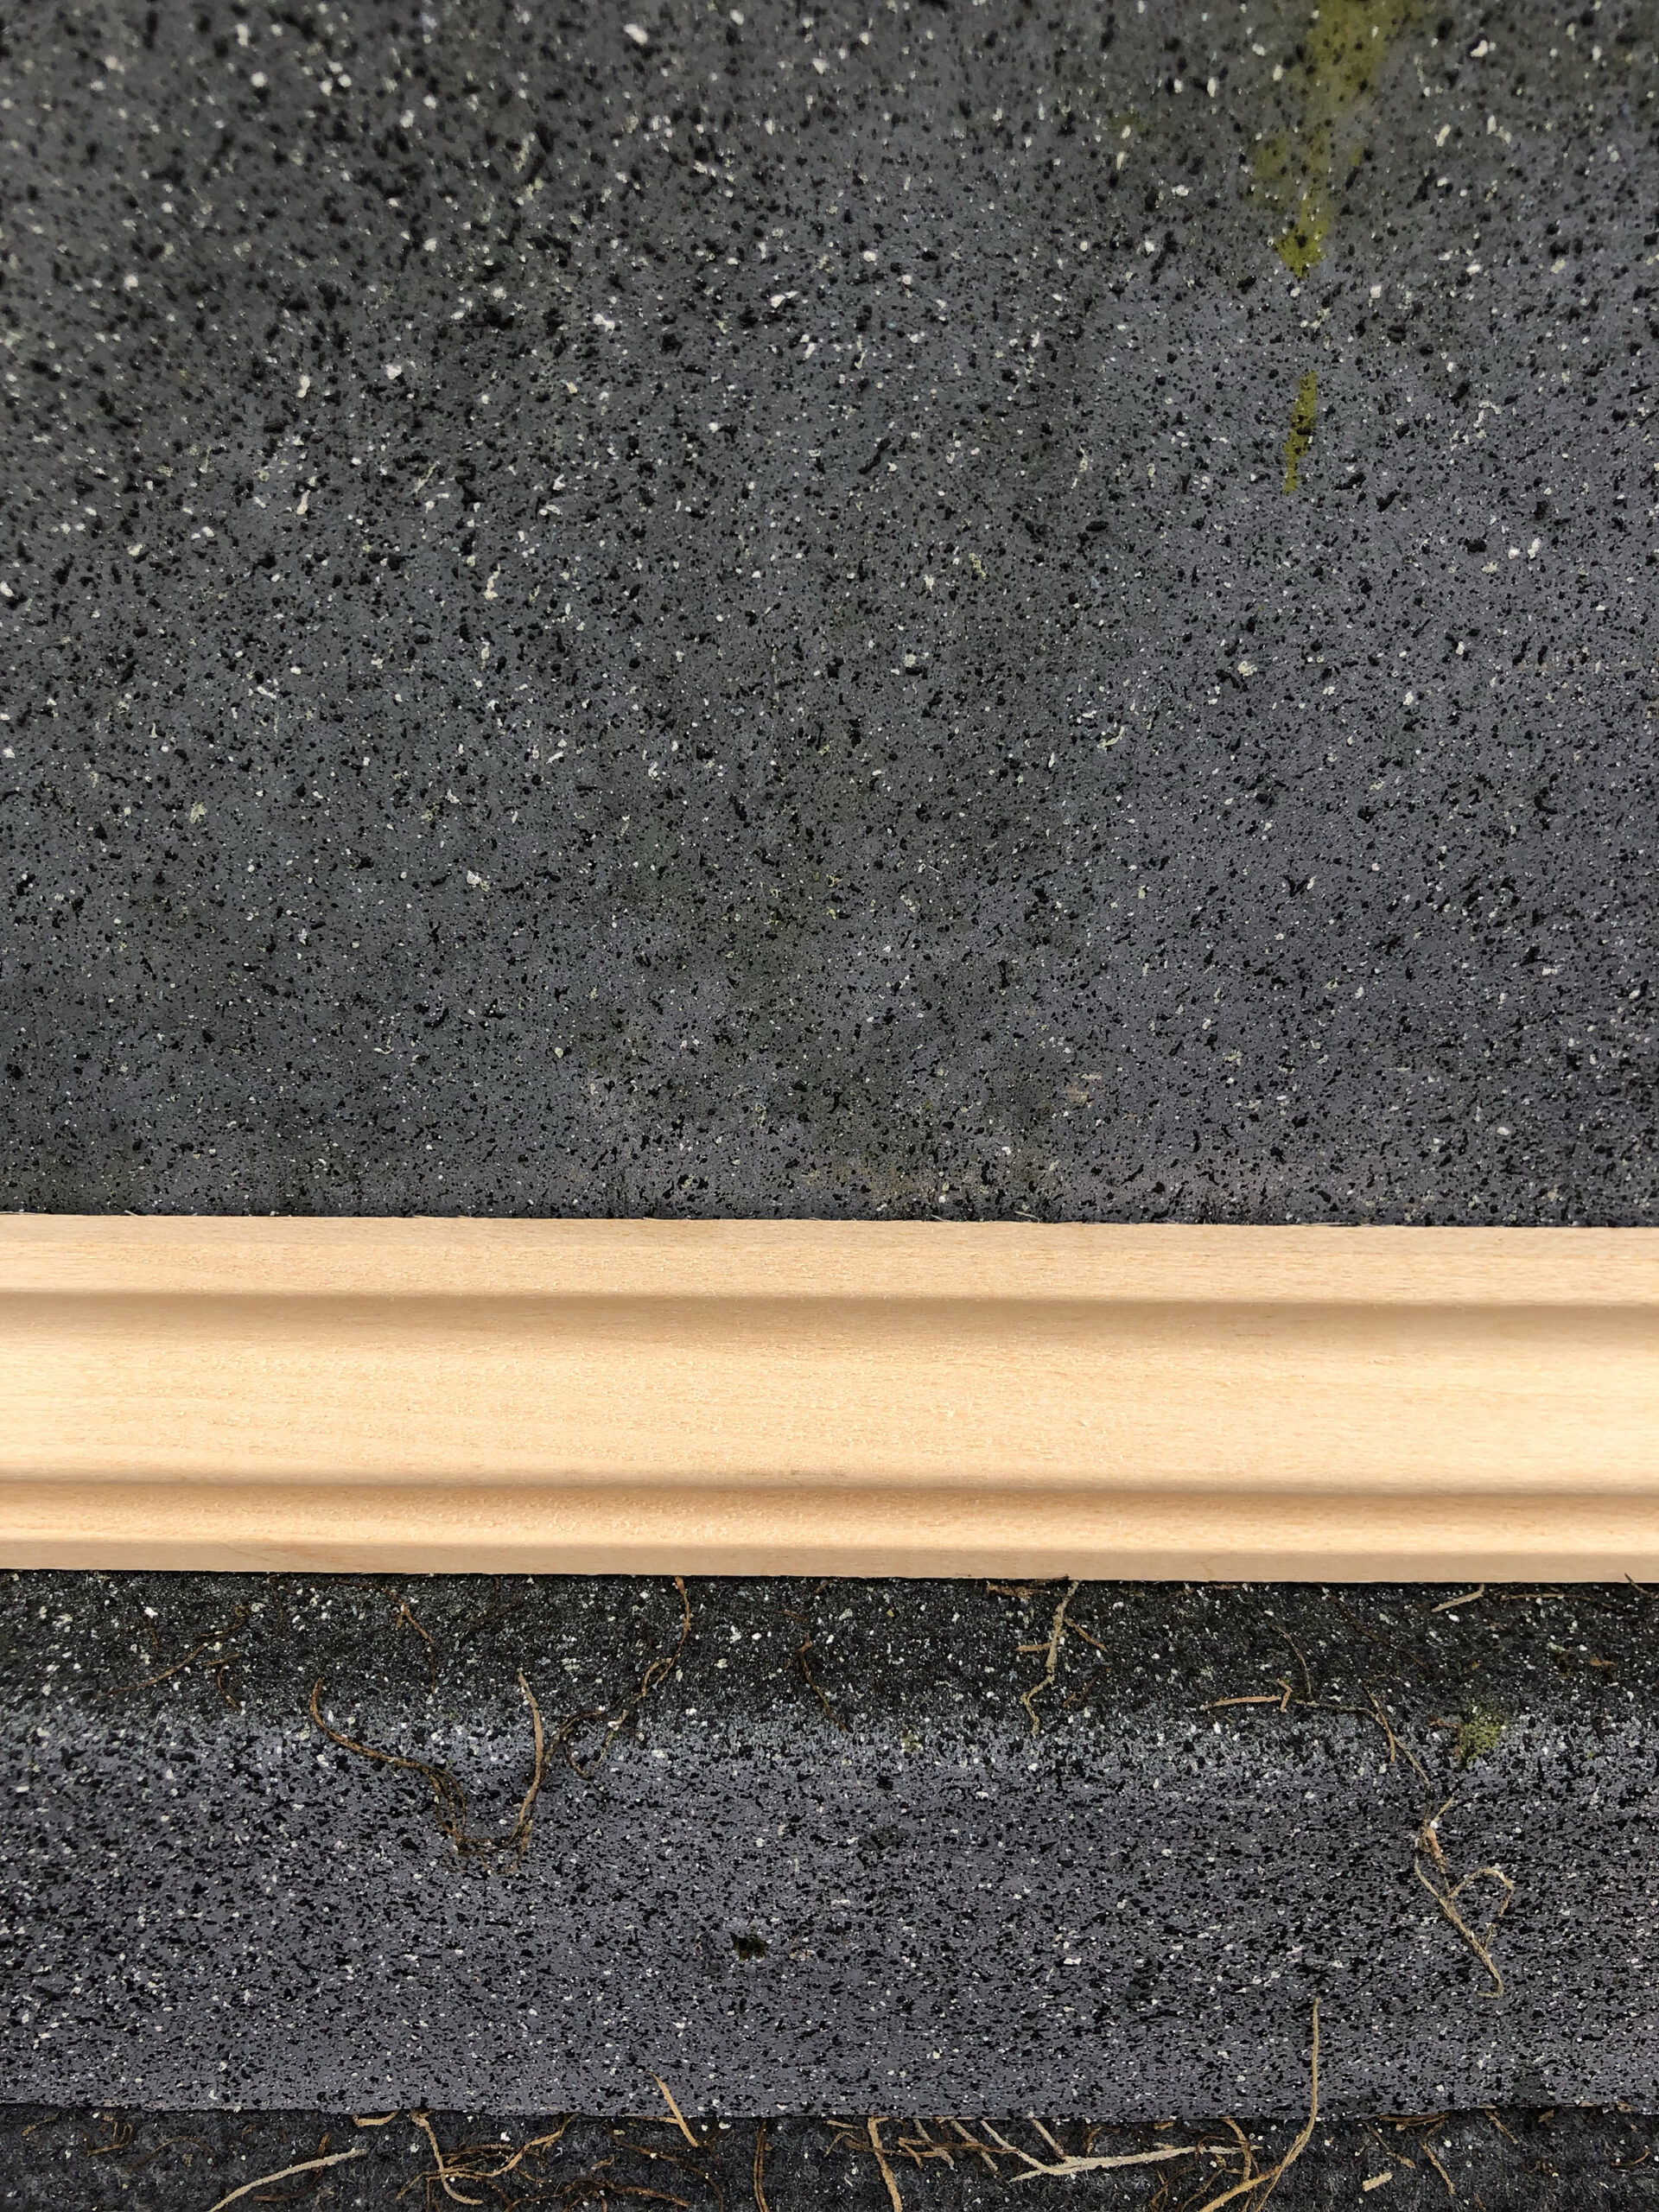
After all the paint is dry, then glue and apply your moss on the top pulling it down to hang in places. I added some molding and a thin wood frame from Michaels to finish it off.